
Looking for Leaves
This is a free tutorial.
It shows one way to use a technique.
If you want deeper guidance and finished projects, start here →Embellished Ecoprints Course
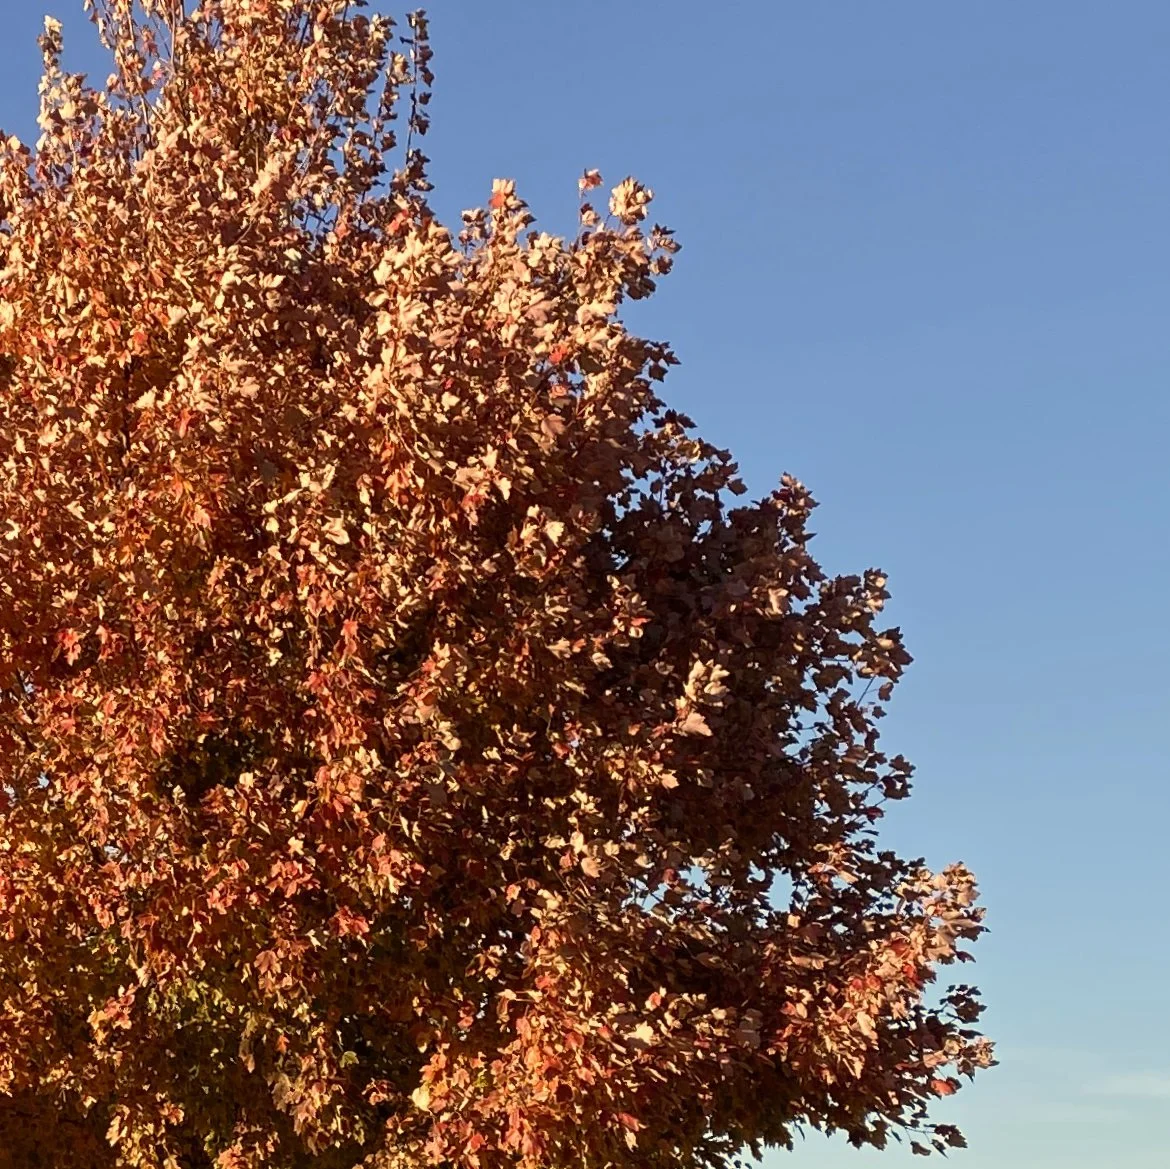
Here we are. Still winter. No new buds on the plants yet.
I had an email from a reader asking about leaves to use for ecoprinting this time of year. I like to use what’s available locally for printing. Finding leaves that still have enough moisture in them to print with is not easy right now in Oklahoma. They have fallen from the trees and most of them are way too dry to print with.
I’ve decided to focus on shape and texture this time of year in addition to color. If I get some color from the leaves, usually brown, gold, yellow, I’m happy, but I’m loving the shapes of the leaves and placing them on the paper in pleasing ways.
I’m trying to get texture using resists with textured and colored papers in the printing process.
Experimentation
I’ve been reading Jane Dunnewold’s book, Best of Both Worlds, Enhanced Botanical Printing. Jane has extensive knowledge in this area.
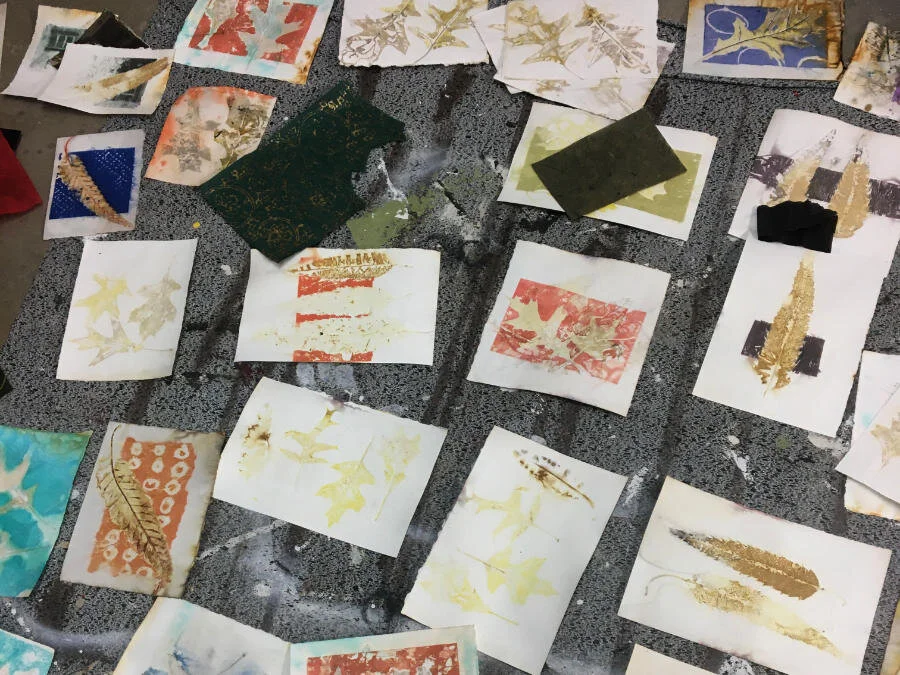
A technique that is particularly interesting to me is layering the leaves with pieces of colored paper.
I went a little nuts with trying different papers, but I learned a lot, mostly what not to do.
How I Begin
Because the leaves I pick up are dry, I like to add back some moisture and flexibility. I put them in a new cat litter box of clean water and white vinegar. I add about a cup of vinegar to a gallon of water. I let them soak for several hours and the brittleness is gone.

Soaking the Paper
I’ve experimented with several types of paper in eco-printing. I use to use 140 lb watercolor paper exclusively. But now I use mostly printmaking paper and some watercolor paper.
I discovered that printmaking paper was perfect for making my eco- and botanical prints. It’s durable and can hold up in water, heat, and pressure. It’s soft and can capture details used in many print-making methods. My favorite paper is Arnhem paper made by Speedball.
It would be great to allow this paper to sit in alum* and water for several hours, but I rarely am that patient. I let them soak for about 30 minutes before I assemble the paper and leaves.
*Alum acetate is a mordant that helps the paper or fabric grab onto the color that comes from the leaves. I use about a tablespoon in 2 quarts of water.
The “Roll”
I usually assemble a bundle of tiles, leaves, and paper to make botanical prints. You can see my bundle assembly here.
But this time, I want to use larger paper. It wouldn’t fit flat in the electric skillet.
The best way for me to steam the leaves and paper is to use a roasting pan on the stove and roll the paper and leaves around a wooden dowel.
Supplies
Leaves
Paper
Colored art tissue (called “bleeding” tissue)
Piece of plastic the same size as the paper
String
Dowel
Roasting pan
Old towel


IMPORTANT If you use “bleeding” art tissue like I’m doing here, it’s really important to add a layer of plastic on top of the tissue BEFORE you roll it up. If you don’t add the layer of plastic (I used heavy sheet plastic from the home center) the color will bleed through the entire roll. Just roll it up as one more layer with the papers and leaves.


Here’s the roll in the roaster. Notice that the roll is not in the water. I’m using terracotta plant feet to hold the roll up out of the water.
I let it steam for about 30 minutes but made sure the pan didn’t go dry.

When the steaming was done, I unrolled the paper, removed the leaves, and admired the wonderful color around the leaf shapes. This paper measures 12 inches x 14 inches.
I’m not sure about the lightfastness of the color from the colored tissue paper, but for greeting cards I love it!
Do you notice the detail of veins and stems on this print?
I added those by using a stamp pad and the leaf. Perfect match!
If you do eco-prints, I would love to see what your results have been. Or if you think I might help you, please comment below and I will get in touch!
