How I Use an Ecoprint on Paper as Inspiration for a Larger Canvas
Ecoprint on Paper as Inspiration for a Larger Canvas using Tea Bag Paper
Hello fellow art lovers! Today I'm excited to share my creative journey for "Blaze" - a 20x20 inch canvas mixed-media art piece inspired by one of my smaller eco prints on paper. I've always been fascinated by taking small inspirations and transforming them into larger works, and this project was the perfect opportunity to do just that!
This piece is available in my shop here.
Materials:
Old Popular Mechanics magazines
A re-purposed 20x20 canvas
Golden Fluid Acrylics paint
Tea bag paper
Flat piece of glass with taped edges
Golden Glazing Liquid
Maker’s Magic Adhesive (I’m not an affiliate, I like this product.)
Spritzer with clean water
Brushes
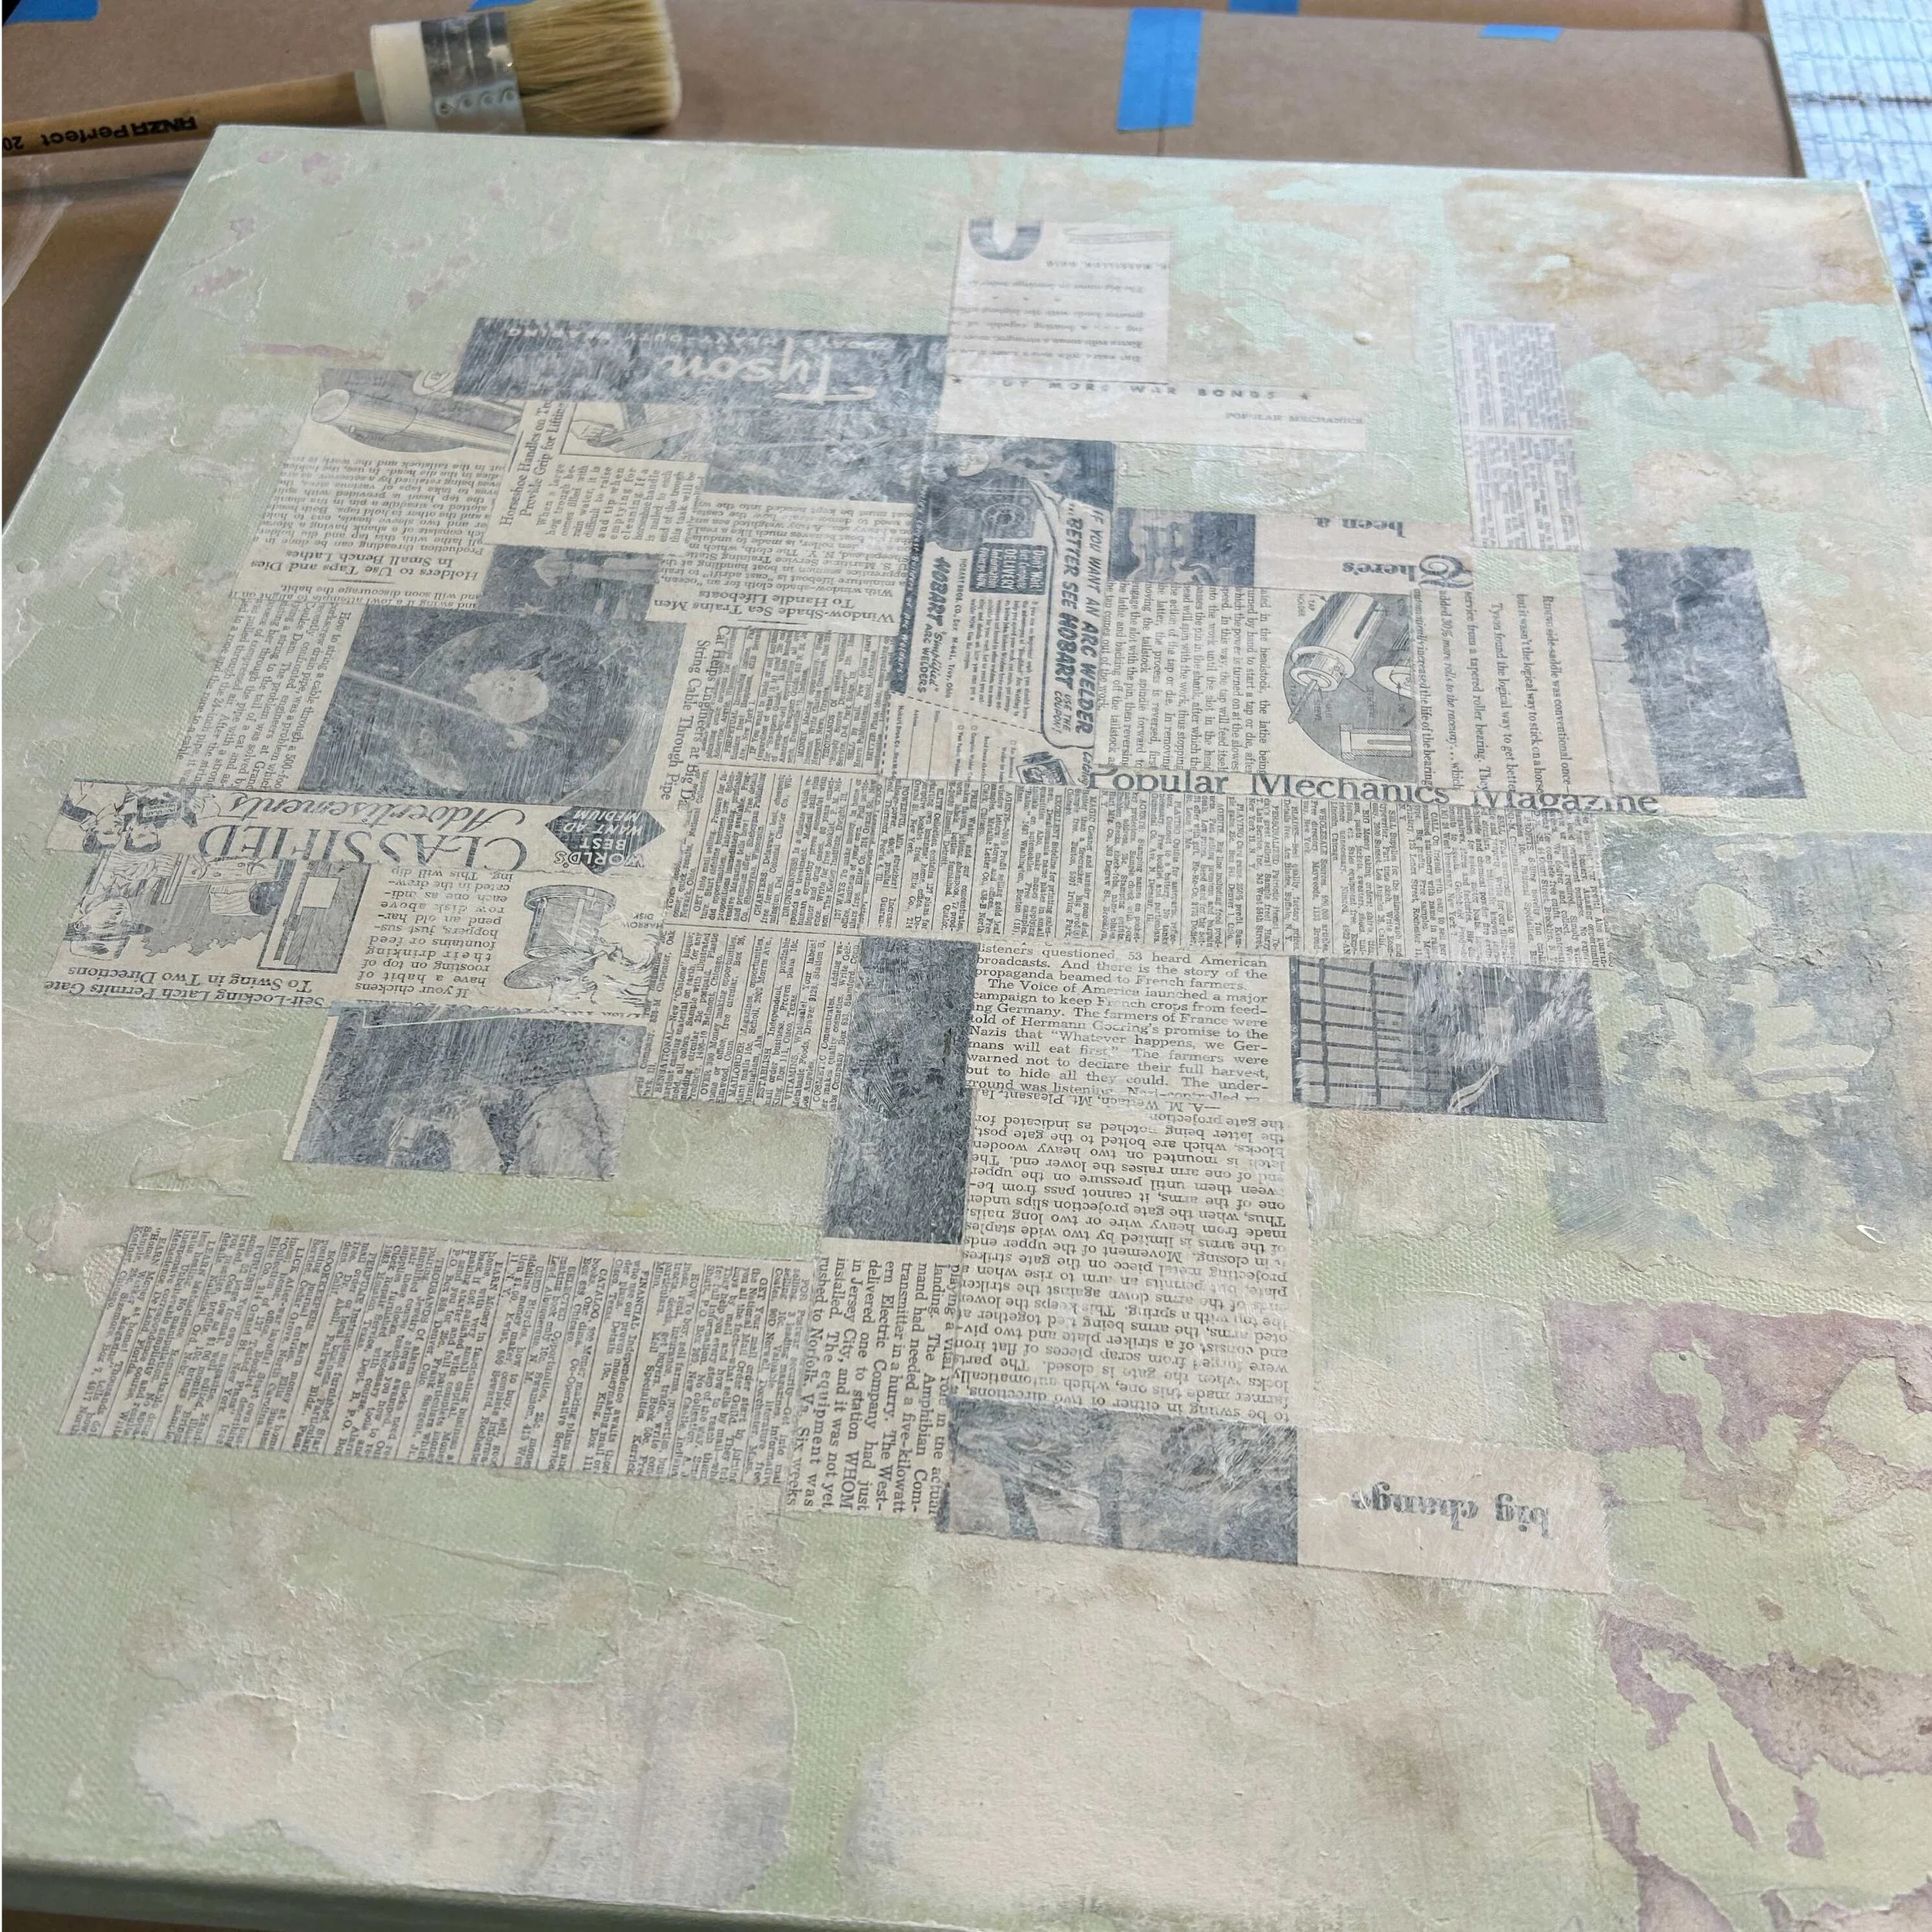
Step 1: Glue Down the Text
This was an old canvas from another project. It had glued-down colored papers. To re-purpose it, I peeled off the papers and sanded the surface as smooth as I could. I didn’t seal it before I glued down my text.
The old Popular Mechanics pages that were torn down and glued to the canvas have special meaning to me. You can read about that here.
I laid out my torn pieces of text as collage on a grid. I like them to be perpendicular to each other. I use the same adhesive here that I use on the tea bag paper.

Step 1 : Adding the White Wash
Once the text pieces were glued and dried, I glazed the entire canvas with a white wash - basically thinned white acrylic paint mixed with a glazing liquid. After letting it dry completely, I had a perfect subtle background that allows the magazine text to show through without being too distracting.
Step 2: My Inspiration
I love my ecoprints on paper, but I wanted to make bigger art. I took this print and sketched out a bigger version of it on the white-glazed canvas.

Step 2: Painting the Teabag Paper
I used Golden Fluid Acrylics to paint my tea bag paper. Transparency is important to the look I want to create and this paint will do that.
I wanted the papers to be transparent enough to let the text from the magazines show through. That's why teabag paper was perfect for this project! Another benefit of teabag paper is that I could make the edges really soft by tearing or shredding them with my fingers. When glued down, there are no harsh edges - the flowers look soft and slightly blurry, exactly the effect I wanted.

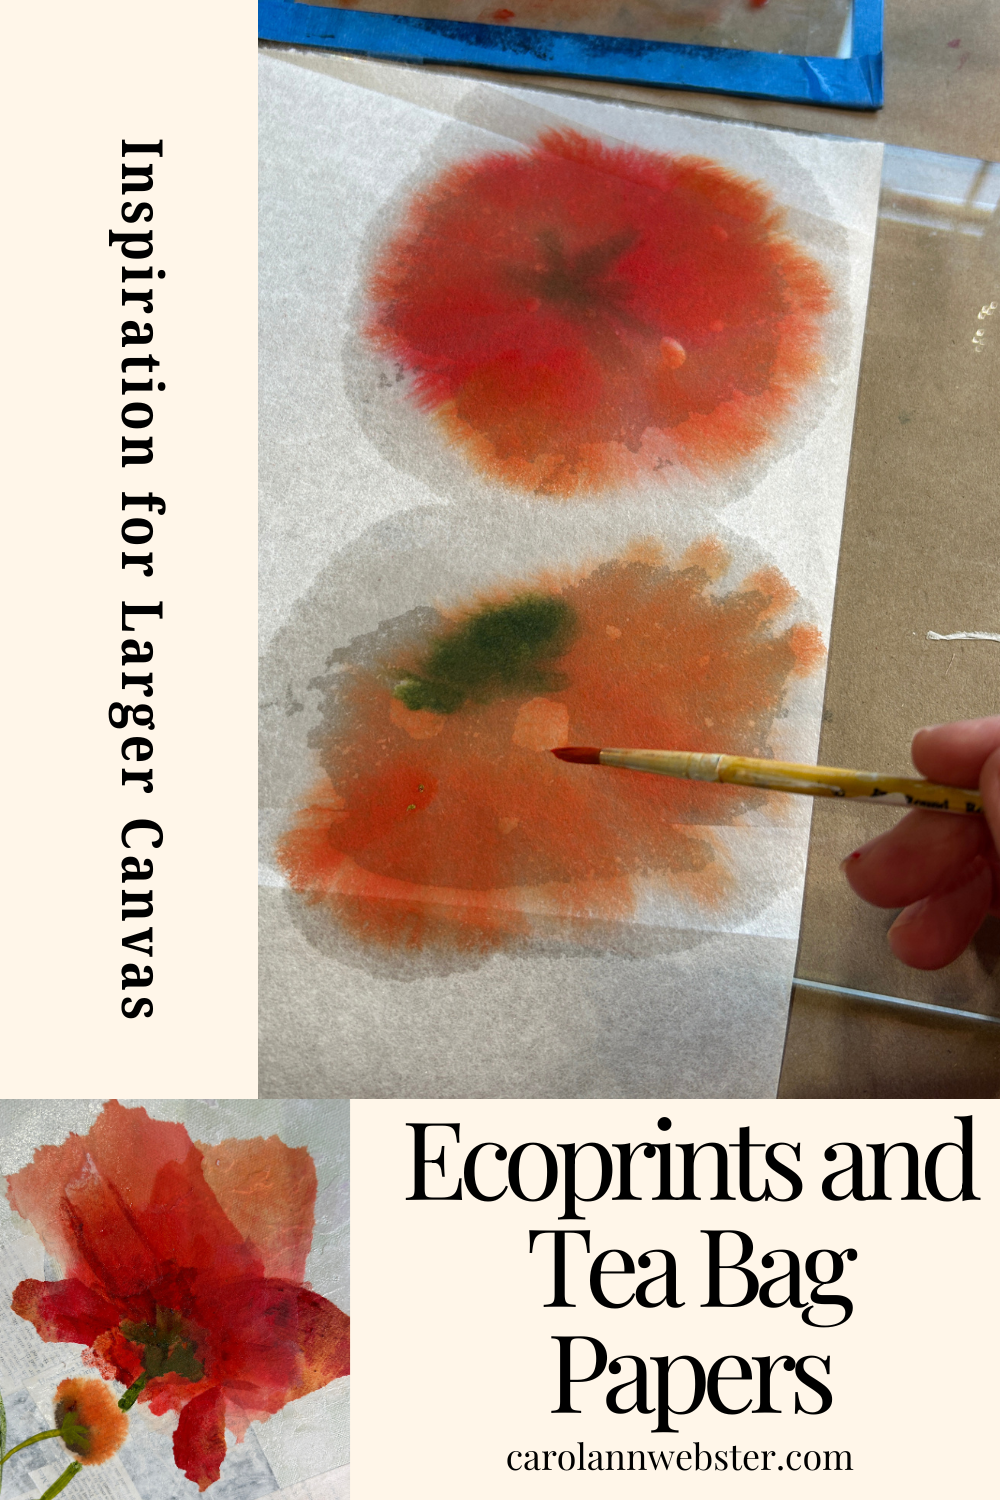
Step 3: Coloring the Flower Elements
I laid the tea bag paper on a piece of glass and spritzed it with clean water. When I touch the brush loaded with fluid acrylic paint to the wet tea bag paper, it bleeds across the paper. I love the way the edges are blurry and soft. I don’t let the tea bag paper get completely dry on the glass because it will stick. Almost dry and I take it up to dry on its own.

Step 4: Attaching the Flowers
When the teabag paper was dry, I pulled the white paper away from the colored part. It is almost shredded. This will keep my edges soft.
I used a transparent adhesive to glue the teabag papers to my canvas. I love this adhesive because it's thin enough to really soak into the teabag paper and make it almost disappear. Though it does have a slight shine to it, I'll eventually varnish the whole piece with a finish that will hide those shiny spots.

Step 5: Adding Stems and Details
Next came the stems and leaves. I referred back to my original eco print to see where the stems might go, and filled in with some tiny immature flowers and buds wherever my artistic eye felt they were needed. And I added more leaves than were in the original.
Some of the green leaves were also painted tea bag paper torn into leaf shapes. I collaged them over the green paint on the canvas.

Step 6: Adding the Final Touches
Instead of including the vase from my original eco print (which felt too busy for this piece), I painted a simpler purple-blue form on teabag paper.
I tore it down until I liked the shape and thought it fit well with the overall composition. I stamped a little star-shaped image on the pot in different places, but kept it fairly watery-looking since I didn't want anything too strong in that area.
Just like with the other elements, I shredded the edges and attached it with adhesive.
Finally, I glued down another tea bag leaf over the blue pot.

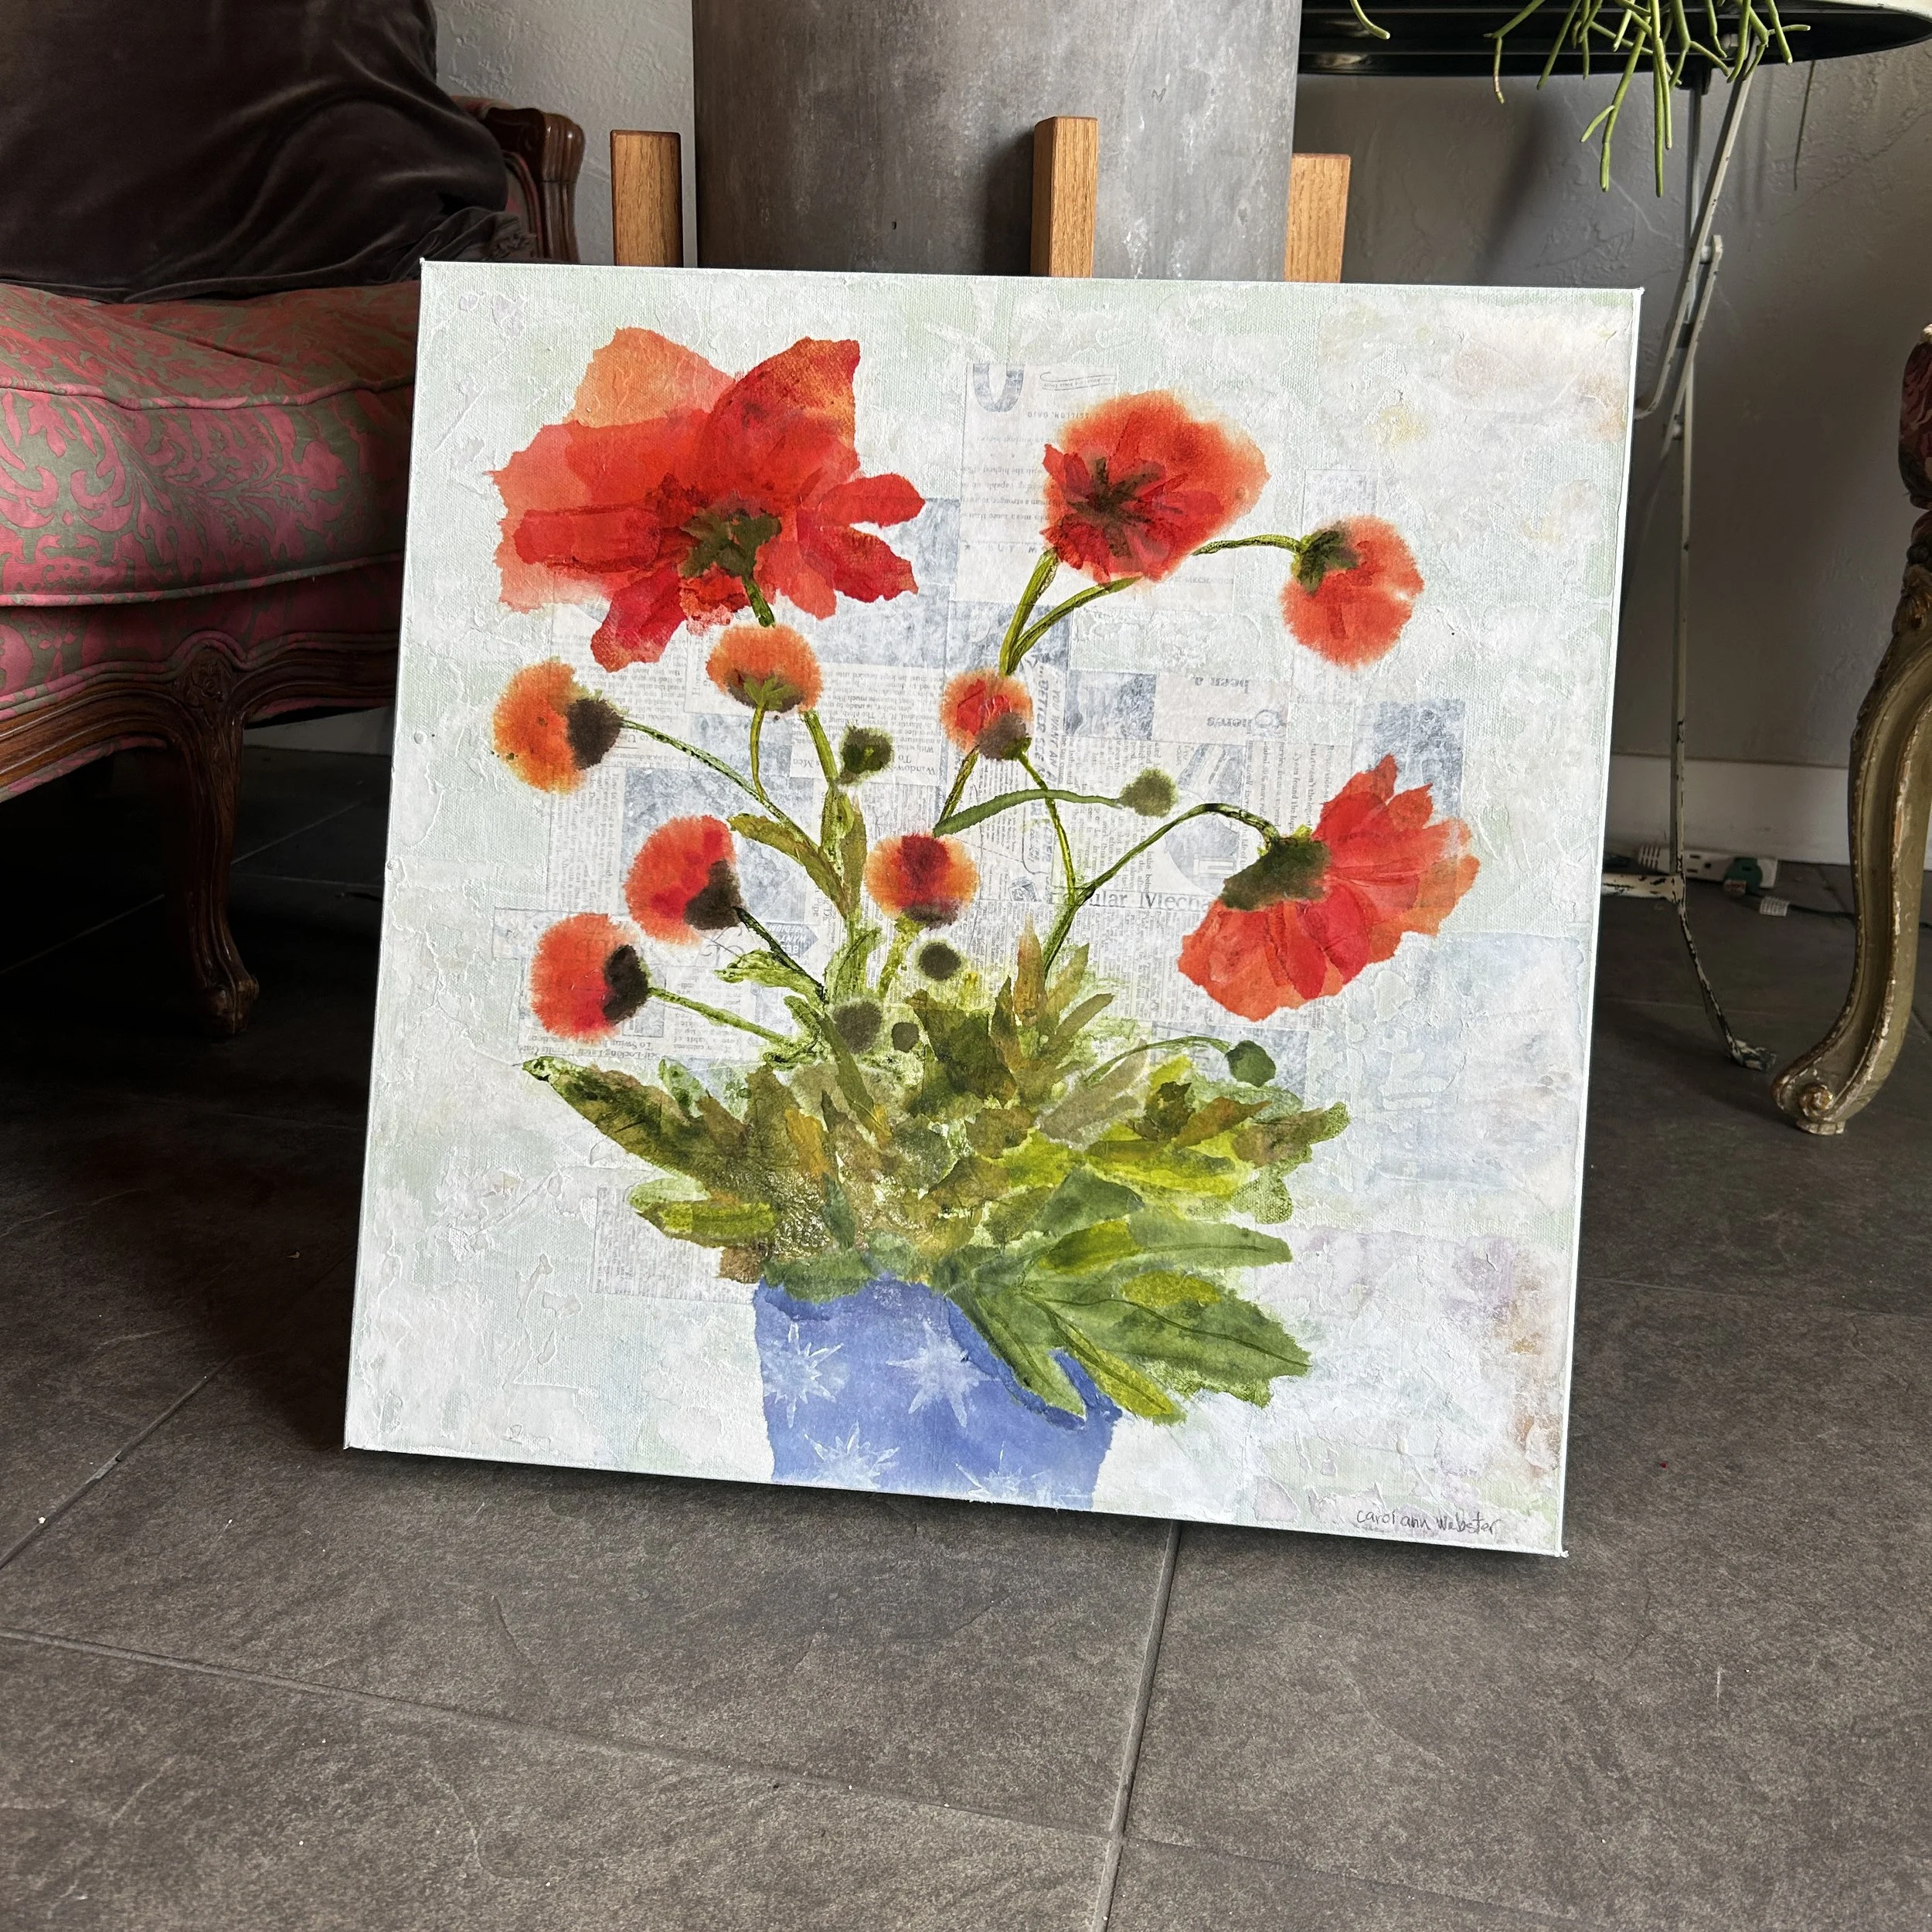

The Finished Piece
I'm really happy with how "Blaze" turned out! While it doesn't look exactly like my original eco print, the inspiration is definitely there, and it was so much fun interpreting it in my own way. I love how the teabag paper creates that slight transparency over the text background, and the colors really pop against the subtle white wash.
I hope you've enjoyed seeing my process! Have you ever tried working with teabag papers or transforming smaller inspirations into larger pieces? I'd love to hear about your experiences in the comments below!
This piece is available for sale. Get more info here.