
How to Add Glam to Ecoprint Papers
This is a free tutorial.
It shows one way to use a technique.
If you want deeper guidance and finished projects, start here →Embellished Ecoprints Course
Before I made myself into a mixed media artist, I was a faux-finish painter.
I put fancy, decorative paint finishes on furniture and cabinets. Then I taught others how to paint their own furniture. After nine years, I left that field for the easier-to-carry mixed-media art.
It occurred to me that a lot of what I learned back in the day could be applied to what I’m doing now.
Some of the products I have are still usable and might look great on my ecoprint on paper art and my tea bag art.
I’m talking about metallic foils.
Metallic foils are produced using a thin sheet of cellophane and adhering a thin layer of non-reactive metallic substrate to one side of the cellophane. You can buy metallic foils here along with a great description of the products. (I’m not an affiliate. I’m just familiar with this company and some of its products.)

In my furniture painting business, I added these foils to the edges of furniture giving it a glamorous touch.
Now I’m adding that technique to my tea bag art and ecoprint paper.

Side by side of Japanese maple eco-prints before and after adding metallic foils.
If I’m using my ecoprints as greeting cards or even small pieces of art, the touch of metallic foil gives the paper an elegant look.
Below I’ve added a touch to one of my tea bag art pieces, “Don’t Fence Me In”.

“Don’t Fence Me In” Carol Ann Webster, Artist
How I Add Metallic Foils to My Ecoprint Art
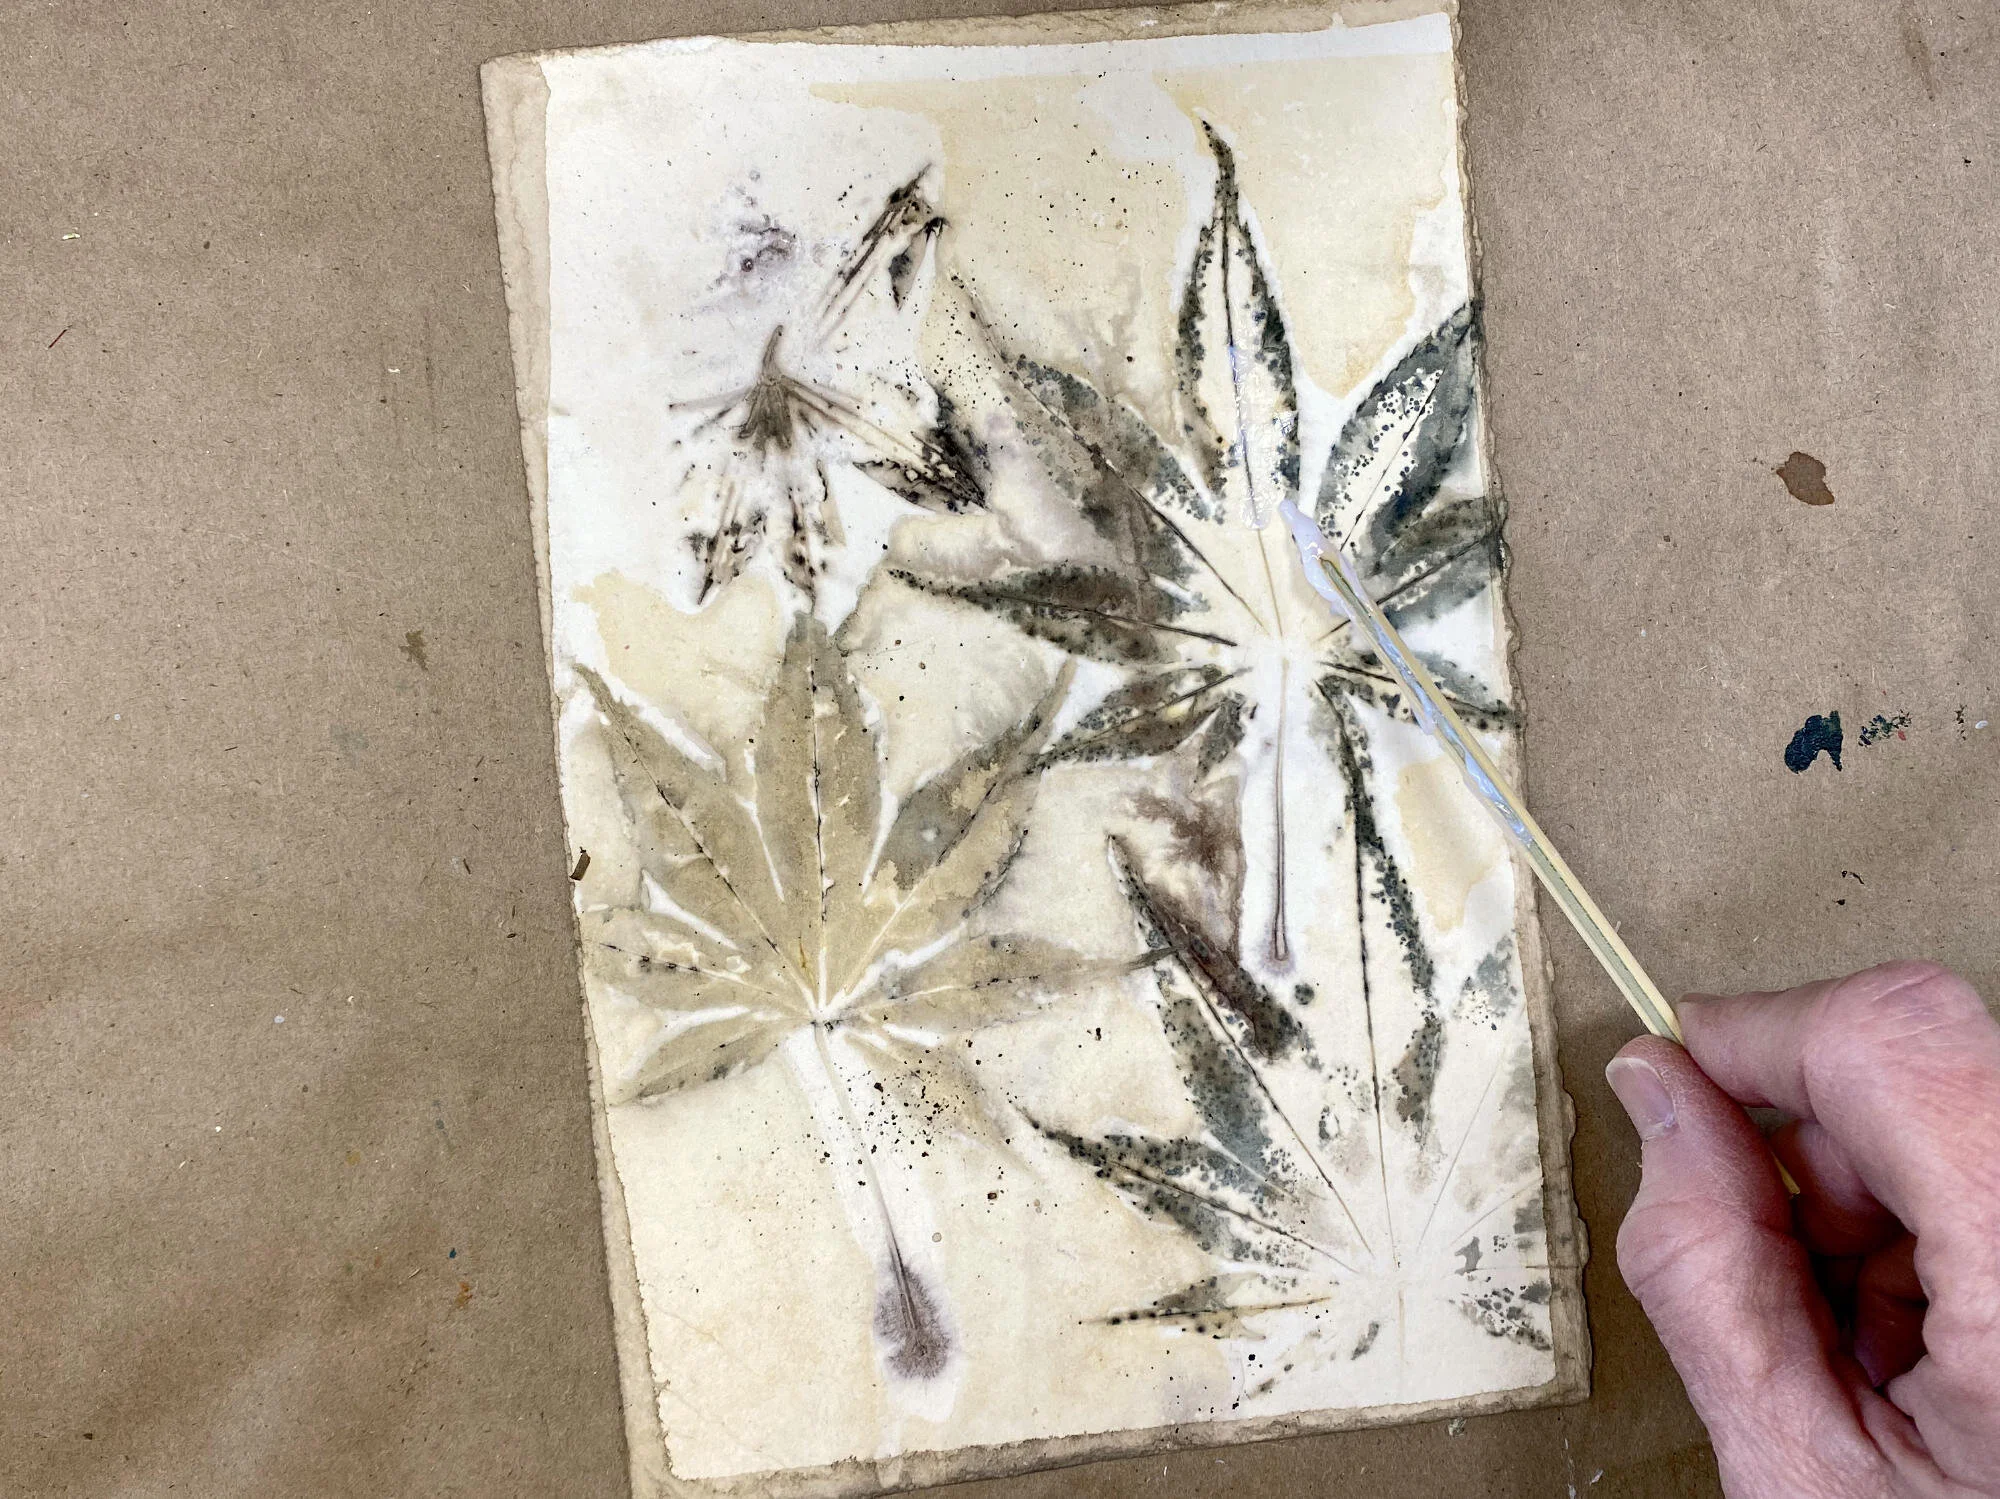
I apply the water-based adhesive to the ecoprint using a stick or a toothpick. You could use an old paint brush because you could wash the adhesive out, but I like the hit-or-miss effect of using a pointed stick.
When the adhesive dries clear, it’s ready to add the foil. It will be tacky, like gold-leaf adhesive. In fact, the adhesive is the same as the gold-leaf adhesive. If you have some of that, you don’t need to buy more.
UPDATE:
Some of my students in my Snippets Tea Bag Art Course didn’t know about using metal leaf that you can buy at the craft store. I should have included that info in this post.

The image on the right is a link to Amazon. You can also find this kit at Michael’s craft stores. It includes the adhesive that I mention using with the rolls of designer foils.
This kit has very thin metallic sheets that stick to the adhesive.
As an Amazon Associate I earn from qualifying purchases.

With the shiny side of the metallic foil facing up, use a soft cloth or your finger to press the cellophane onto the adhesive. I’ve used a wooden spoon here, but your finger works better for small spots. If you have a lot of metallic foil to add, then using a tool like a spoon helps save your finger from getting sore.

When you think you’ve pressed the cellophane into the adhesive as much as you can, peel up it up from your work. Start from one side and peel across the piece.

You can see that the metallic only stayed on where the adhesive is. This is why I like to apply my adhesive with a stick. I like the “broken” effect.

I’ll save this piece of metallic foil for another project. It’s good as long as there is any left on the cellophane. It never dries out. I’m glad! I’ve had this roll for several years and it’s still good as new.
You can buy metallic foils in many colors and patterns. When applied, metallic foils don’t need to be sealed, they don’t tarnish.
I don’t know anything about Nail Art, but in researching places that sell metallic foils, I found some stores that sold a product for nail art that looks a lot like the metallic foils I used on furniture. The adhesive even looks similar. If you know anything about using metallic foils on fingernails, please let me know. It might be possible to buy smaller quantities of the foils than the big rolls that I’ve purchased in the past.
If you try this on your art, please send me a photo of your work. I would love to see how you’re using this material.
