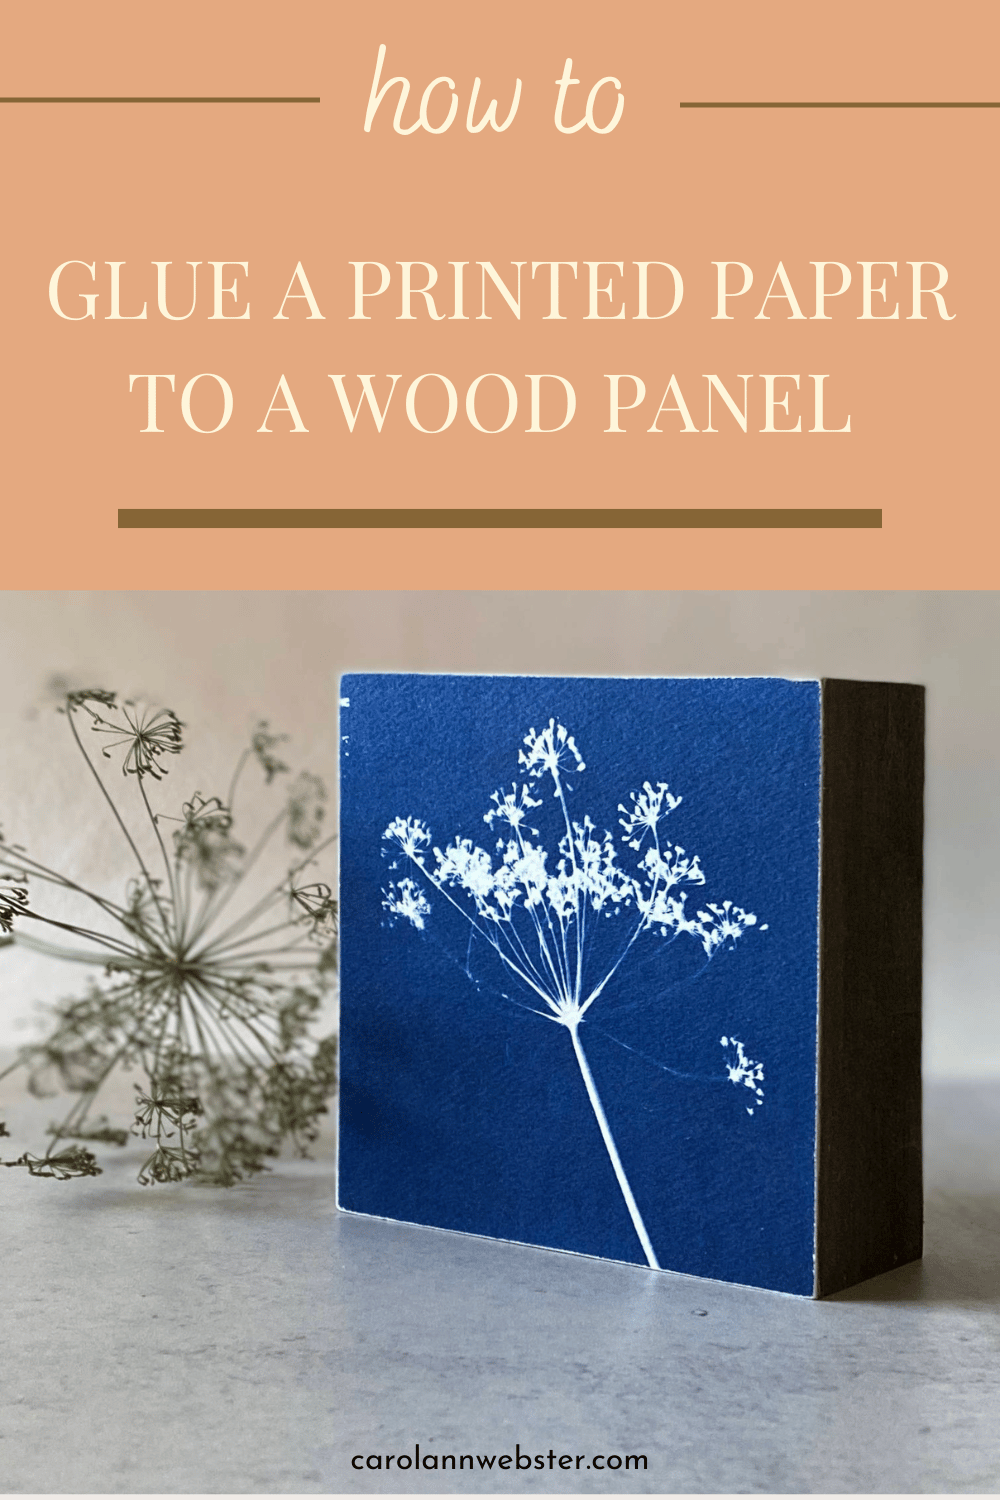
How to Glue Printed Paper to a Wood Panel
Sun printed paper glued on a 4 in x 4 inch cradled panel
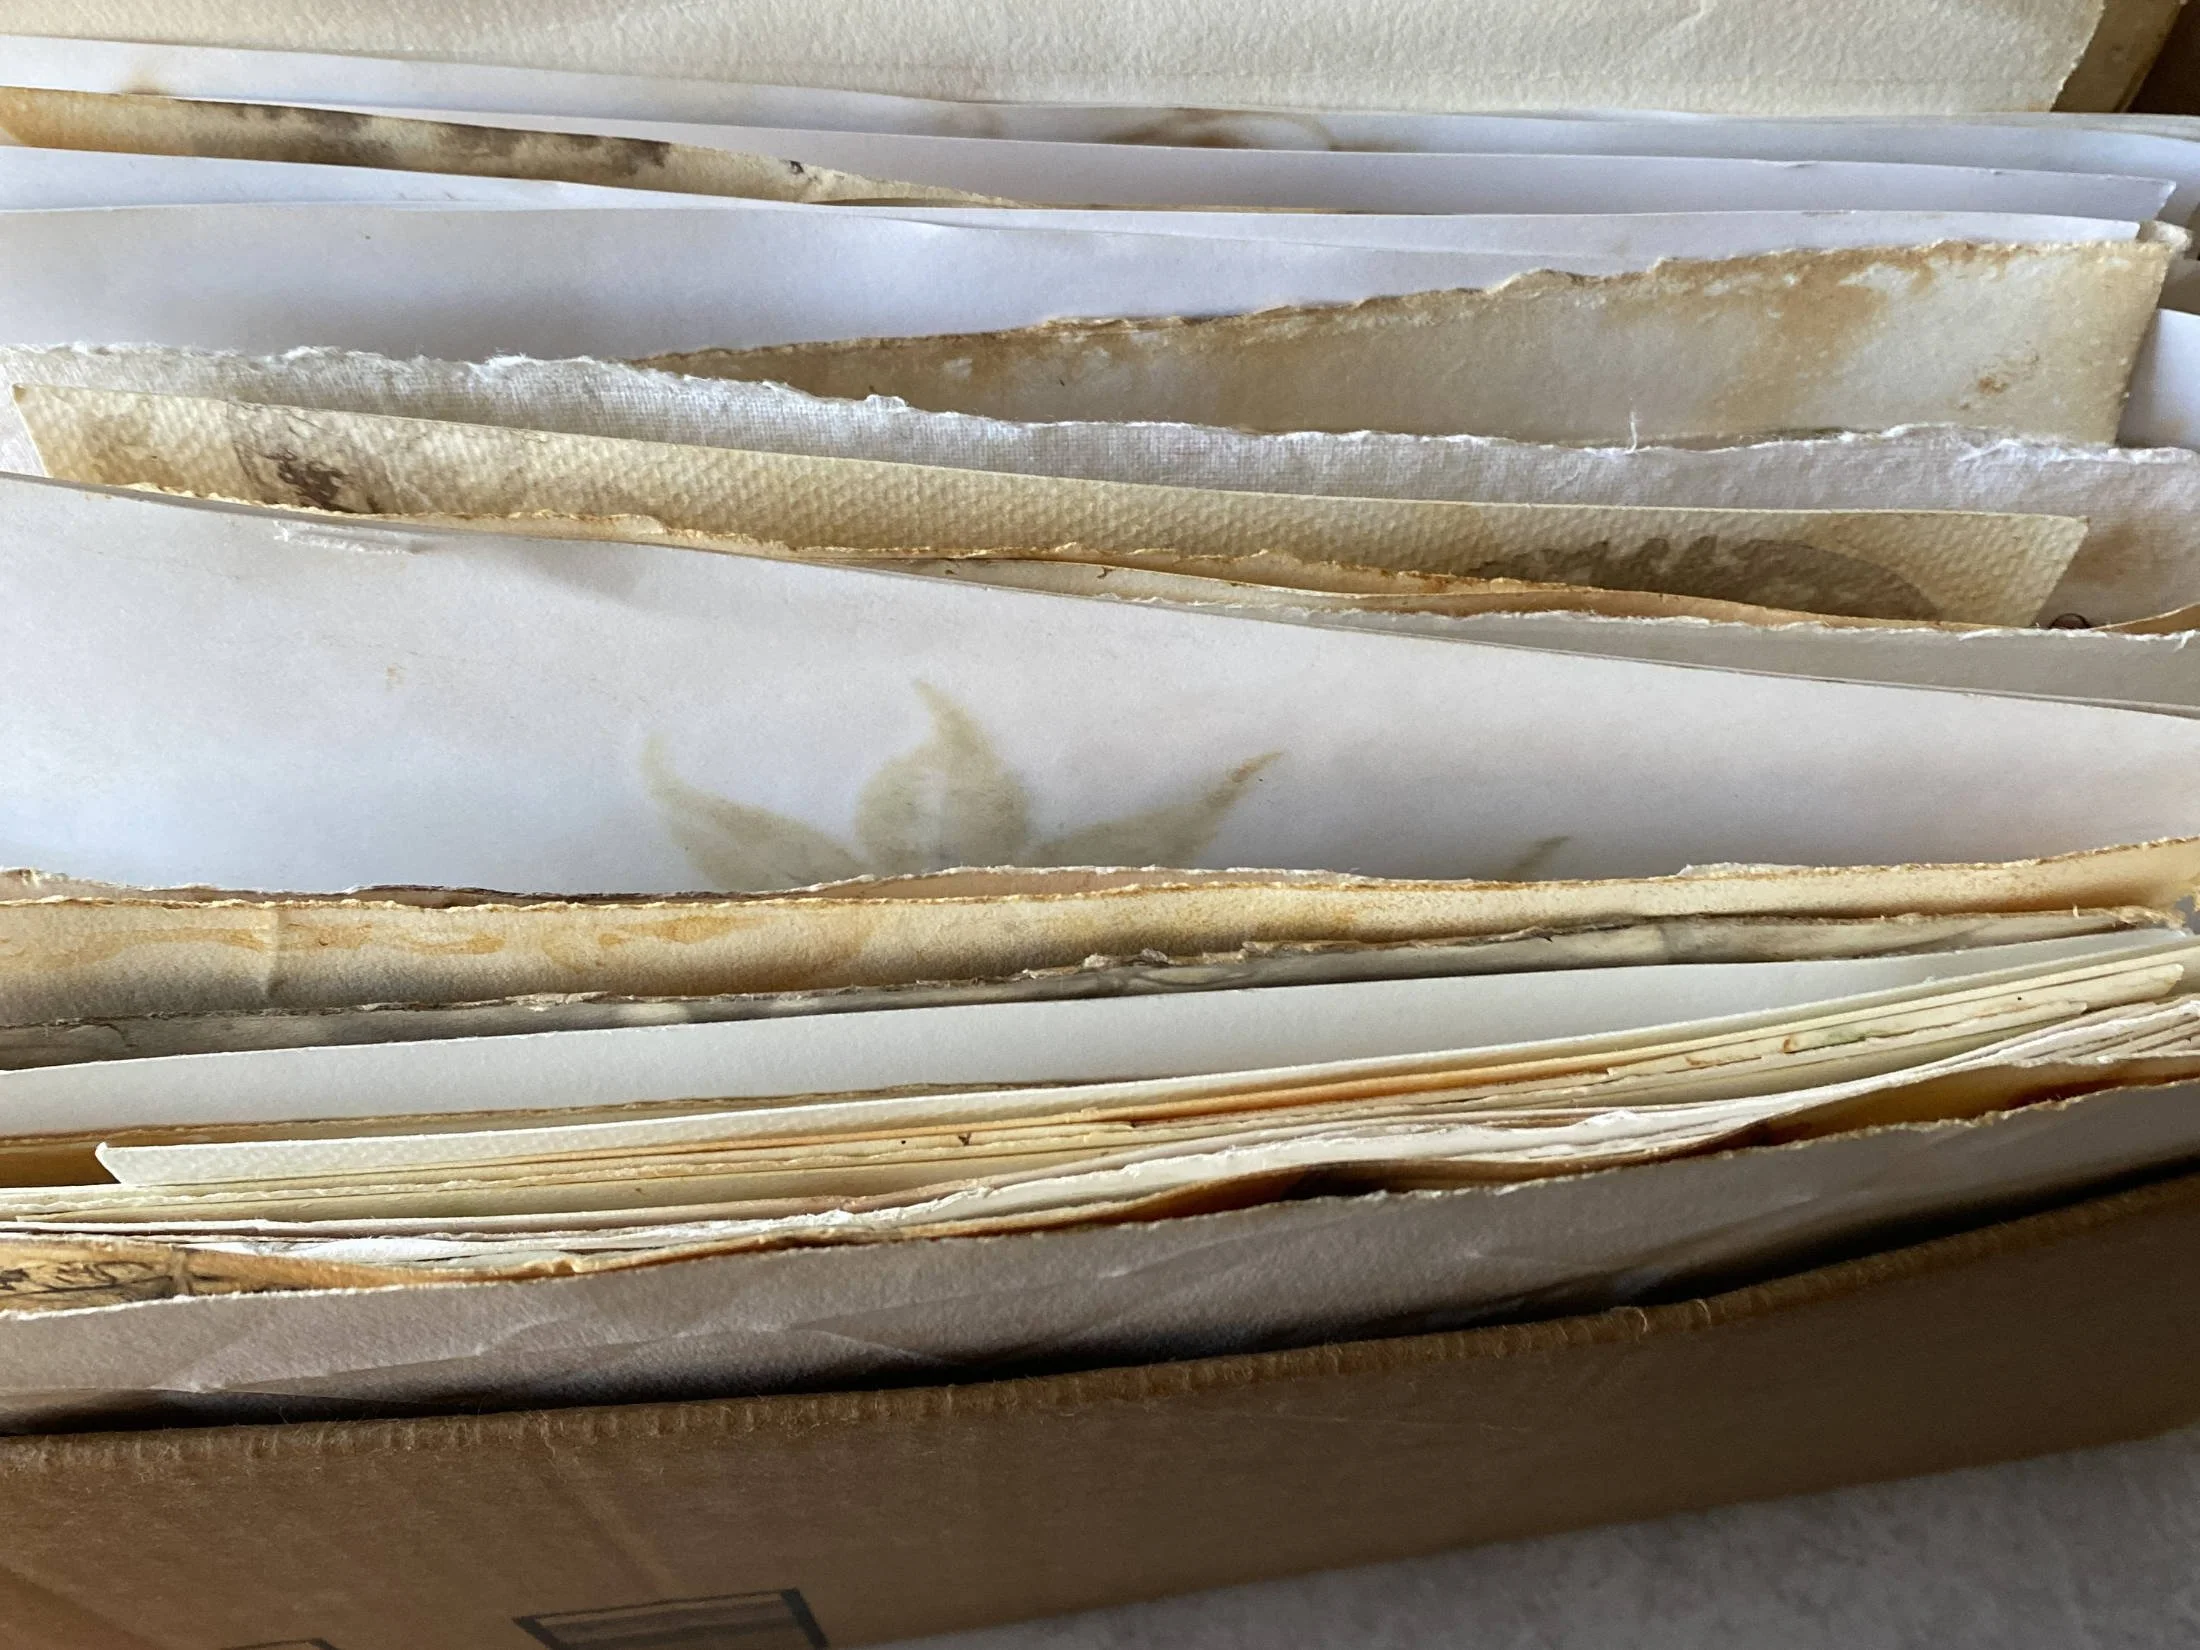
Finding effective ways to display eco printed papers can be a challenge.
When I make eco prints, I make a lot at one time. It’s such a fun process that once I get set up, I want to keep printing and printing.
That results in a big stack of eco printed papers.
Here are the ways I display my eco prints:
In a frame under glass
Mounted to a canvas or wood panel
Attached to a greeting card
Used in a collage
Scanned and used in digitally-produced art
After I’ve glued my printed paper to a wood panel, I can finish it in several ways.
For example:
Apply encaustic wax
Apply resin
Seal with varnish, solvent or water-based
Do nothing. It looks great as is.
In this tutorial, I’m showing how I adhere my sun (cyanotype process) printed paper to a cradled wood panel.
What is a cradled wood panel?
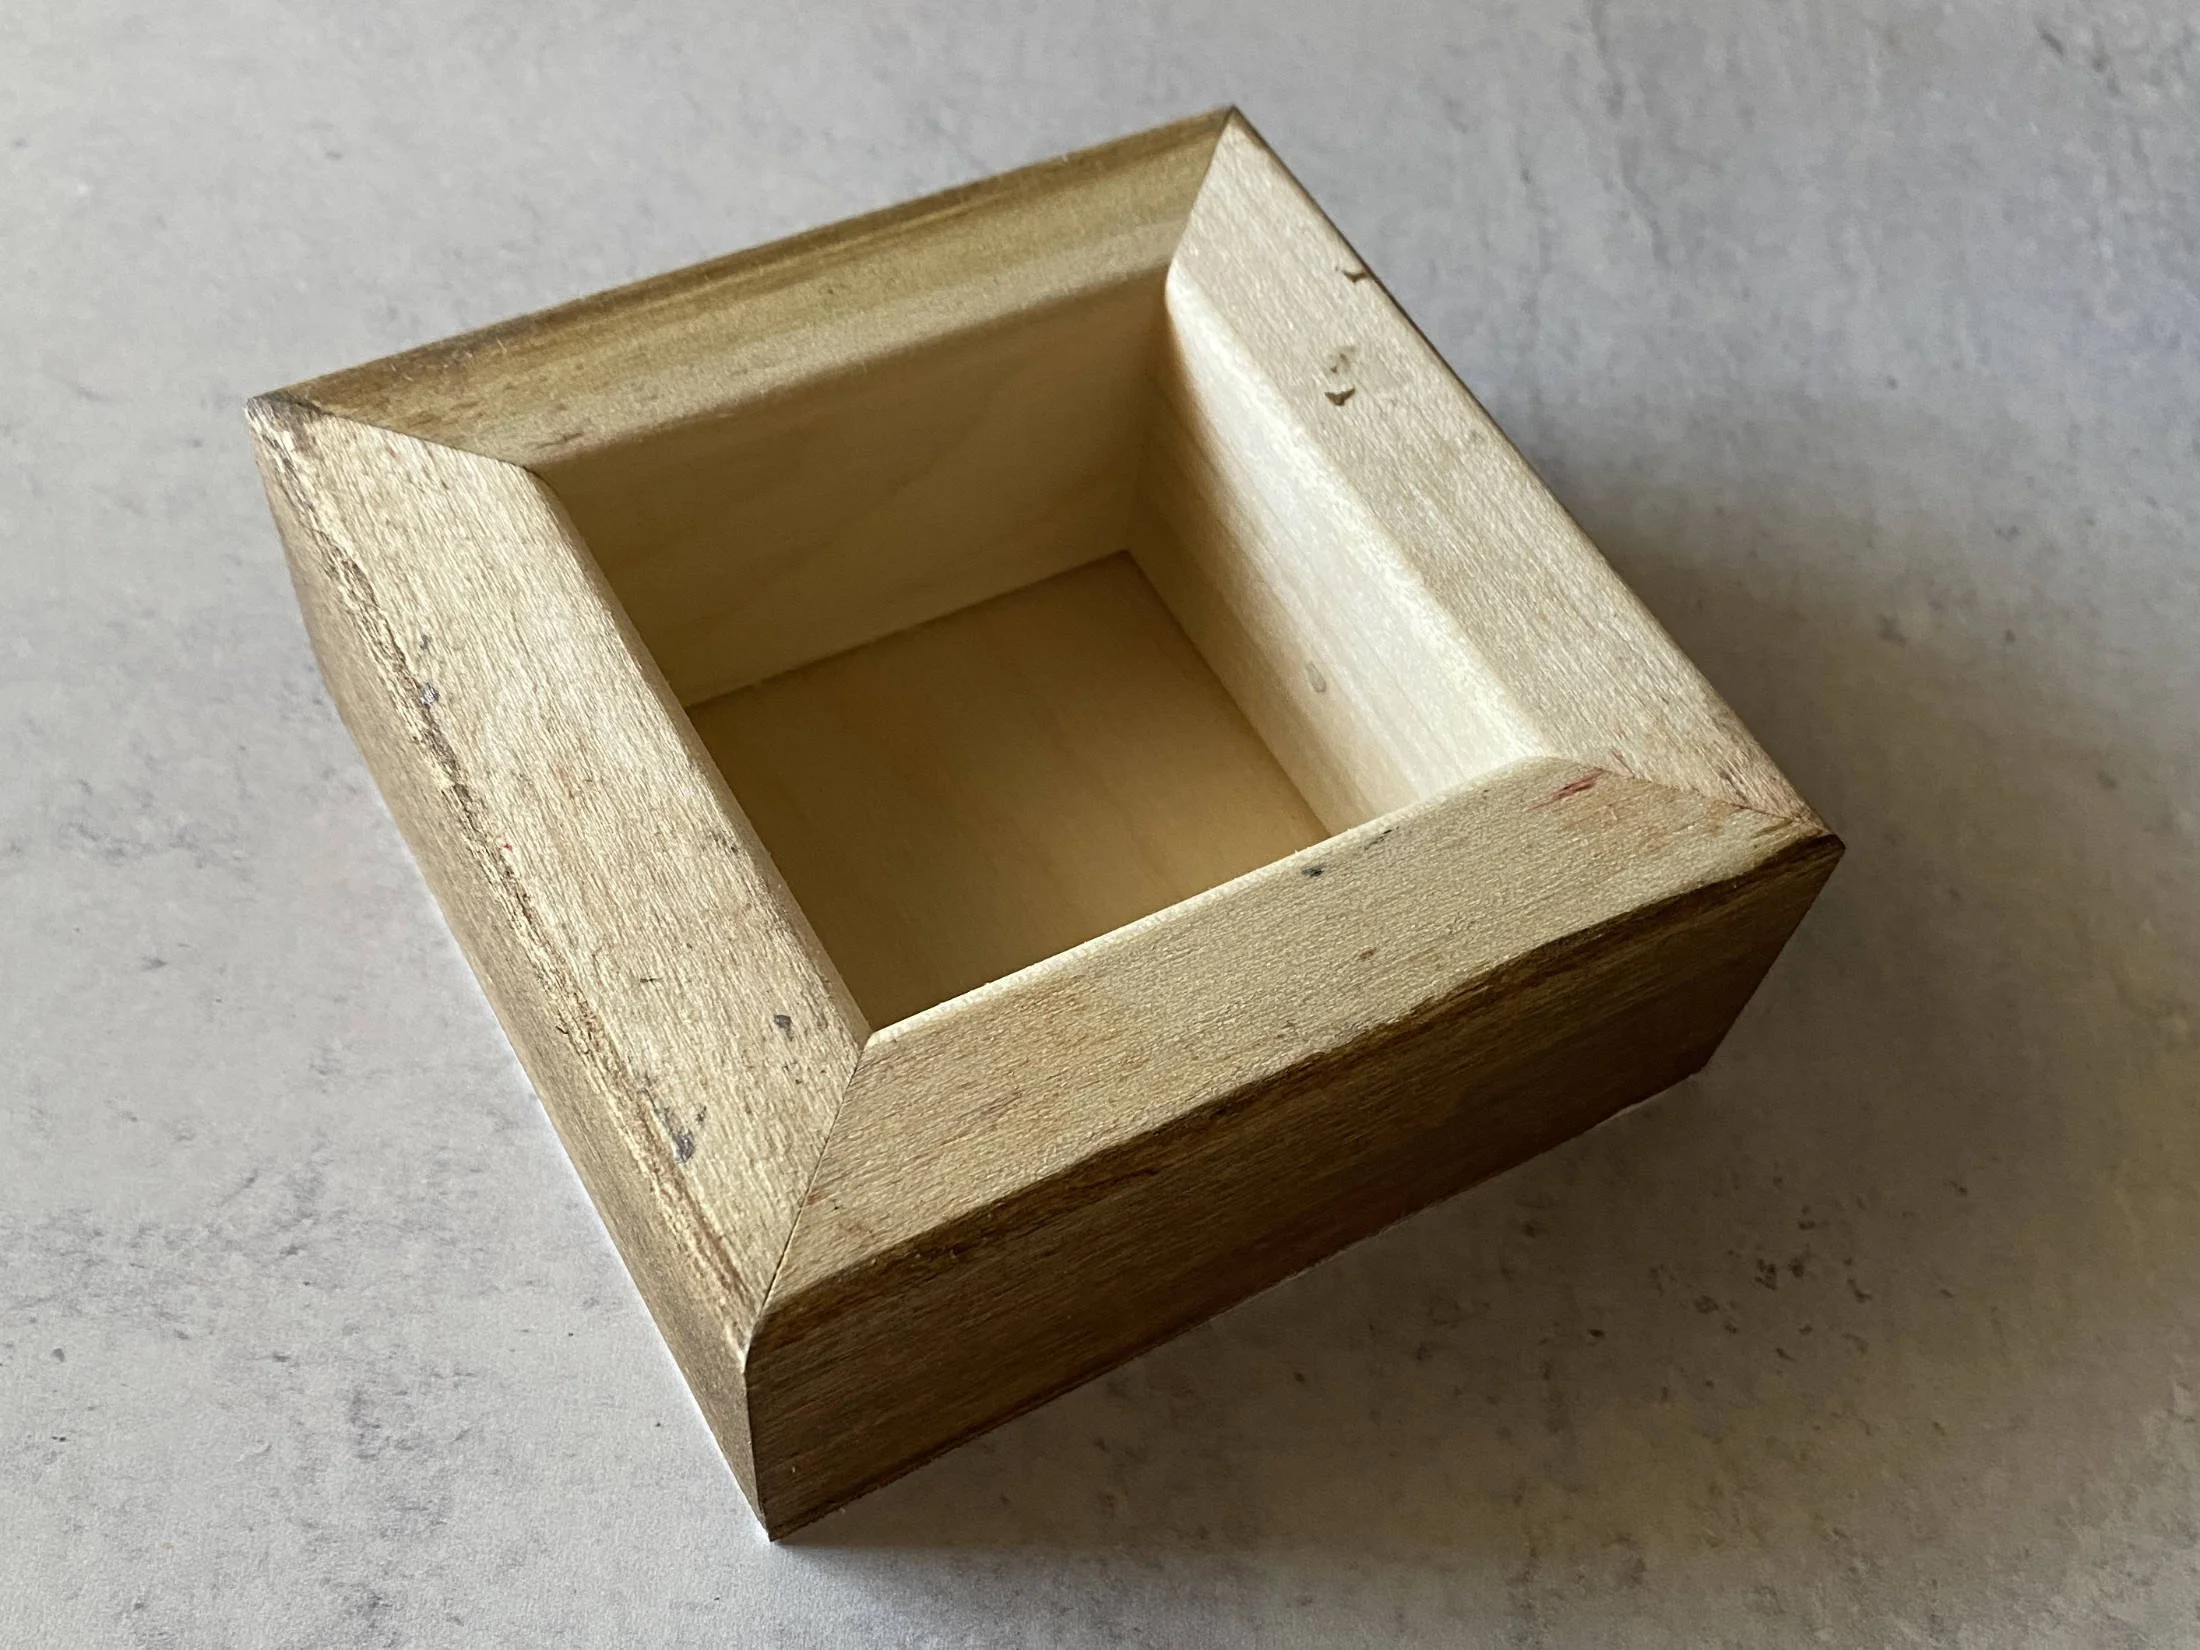
A cradled panel is a thin, flat, wood panel mounted to a frame made of the same wood, usually unfinished poplar. (I’m showing the backside)
The cradled panel surface is sturdy, flat, and rigid.
It’s not like canvas which isn’t rigid and has some “flex” to it.

4x4 canvas-wrapped frame
Prep the cradled panel

I stain or paint the sides of the panel. And I put a little of the stain or paint along the edge of the top. If my paper doesn’t fit perfectly, the panel will still look finished.
I set aside to dry.
Prep the printed paper that will be mounted
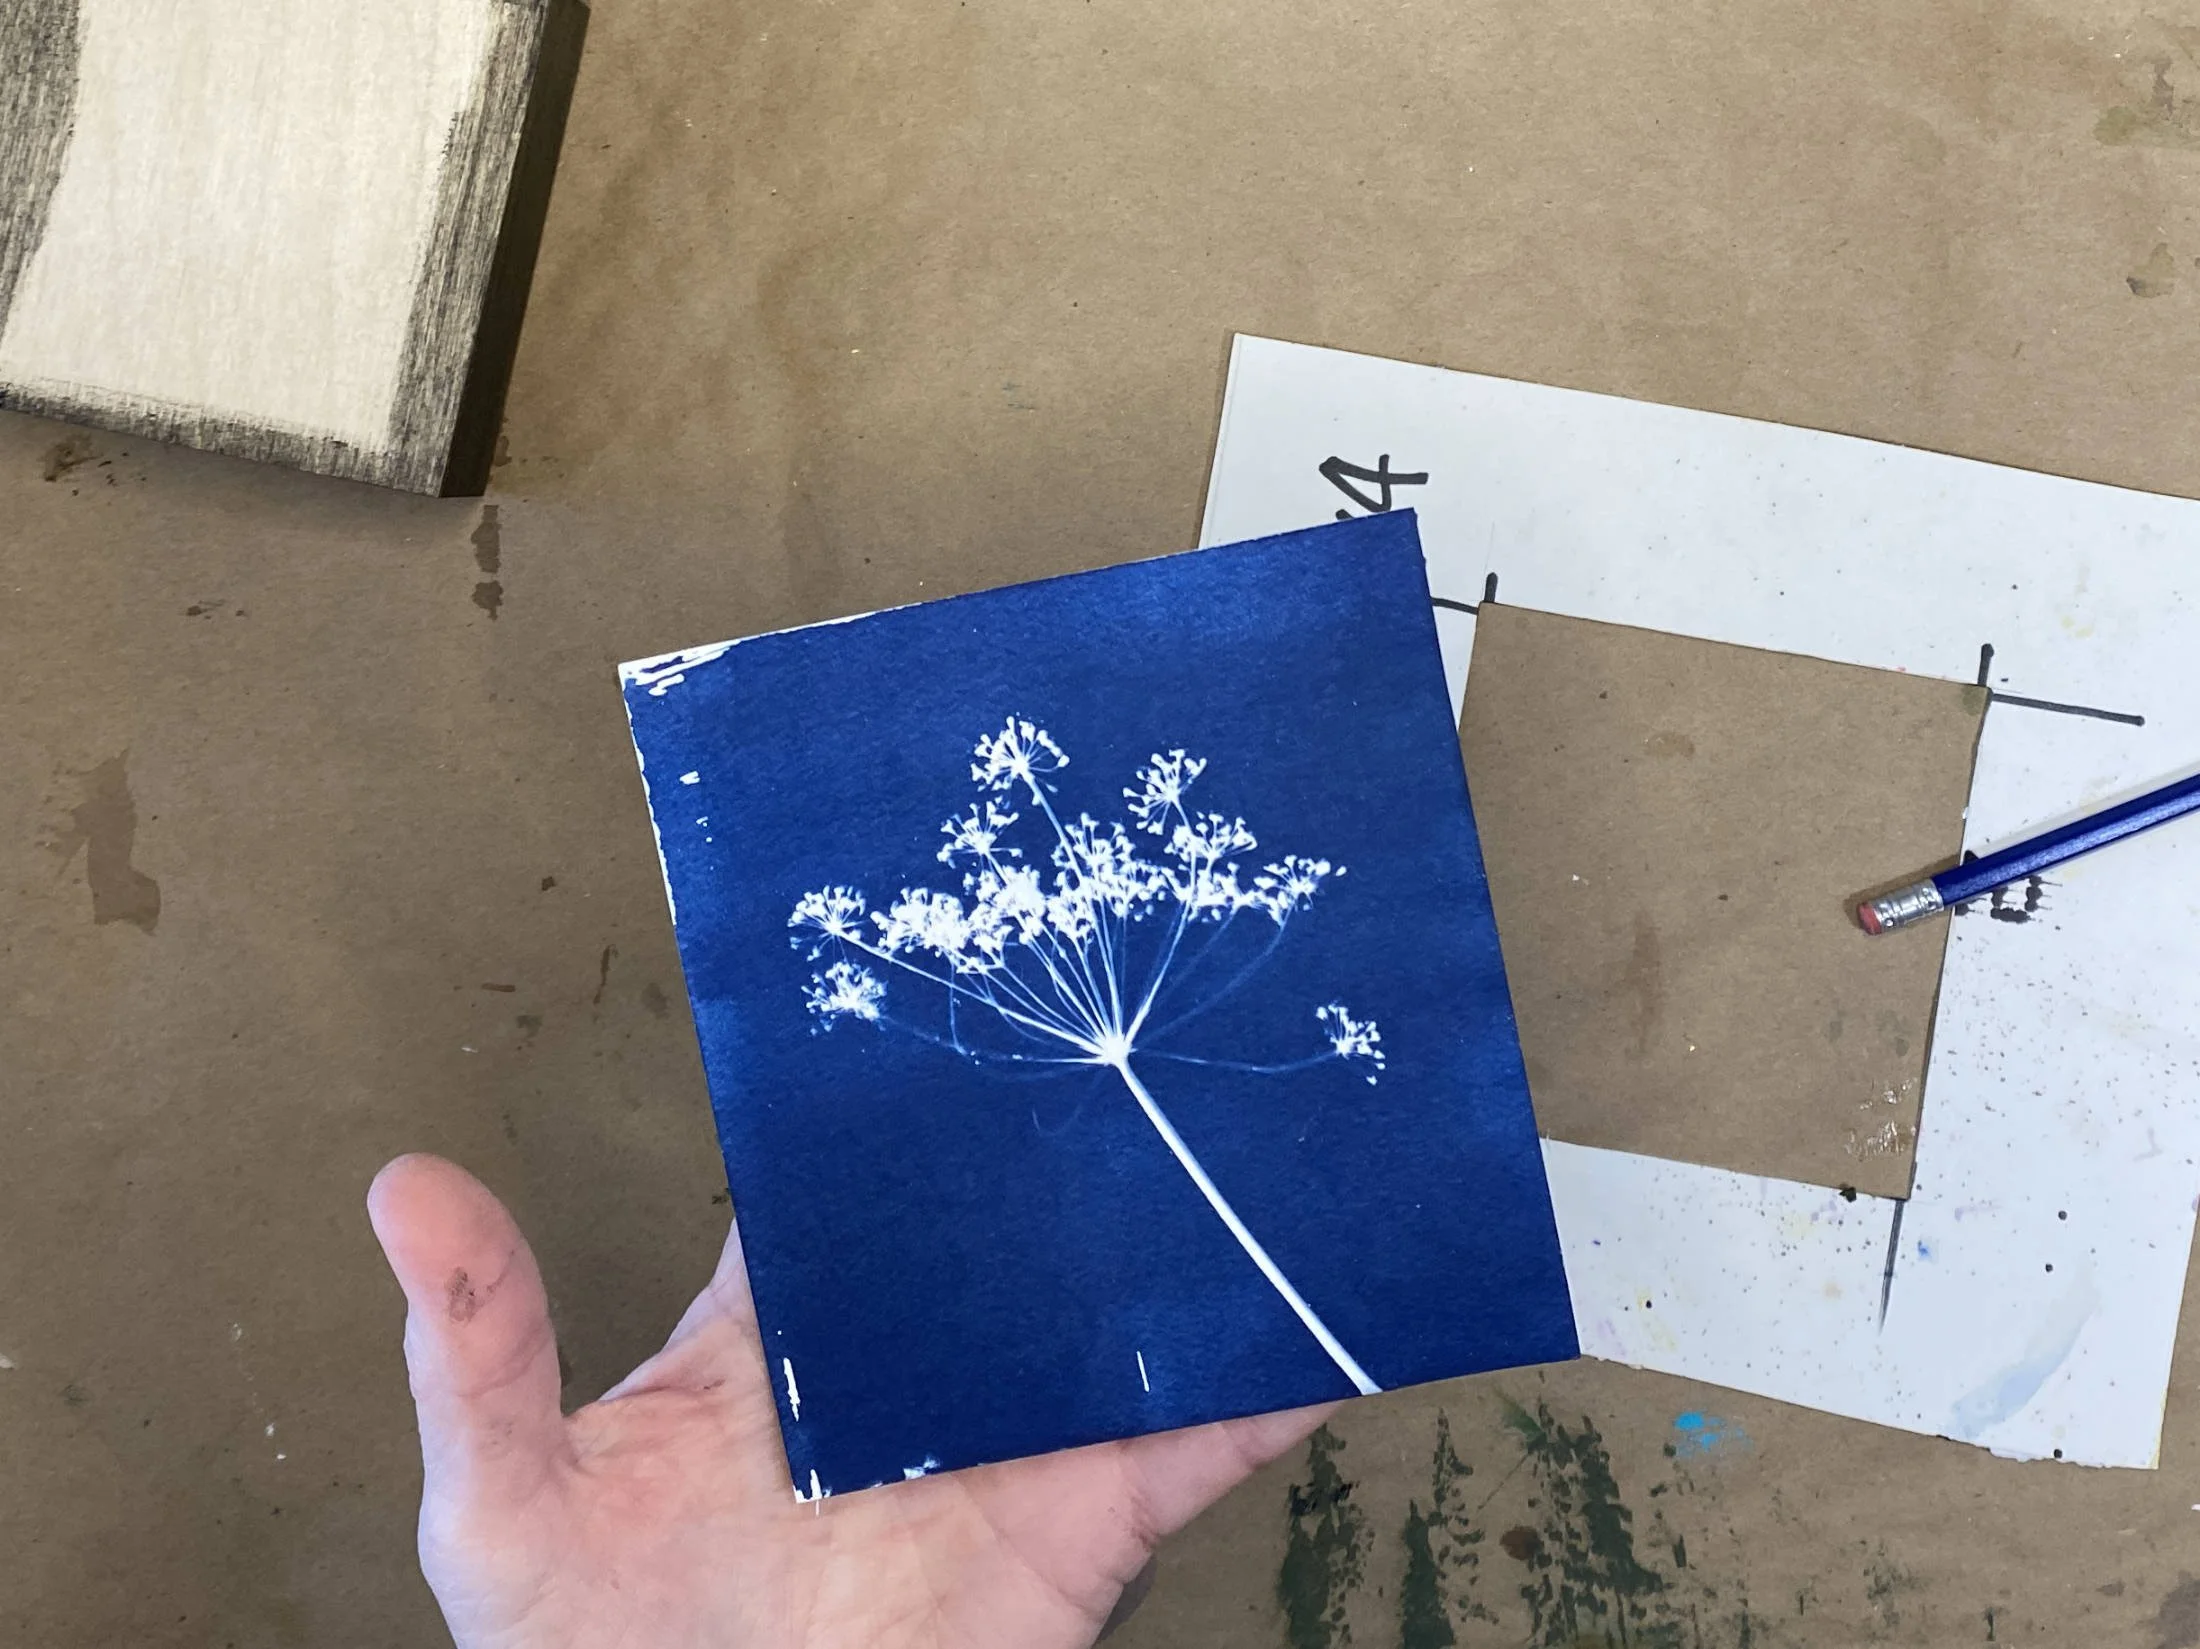
My cyanotype printed paper
To trim the paper to the correct size, I’ve made a “magic window” template.
A “magic window” is a piece of cardboard that has a hole cut in the center that is the size of the cradled panel. In this case, it measures 4 inches x 4 inches.
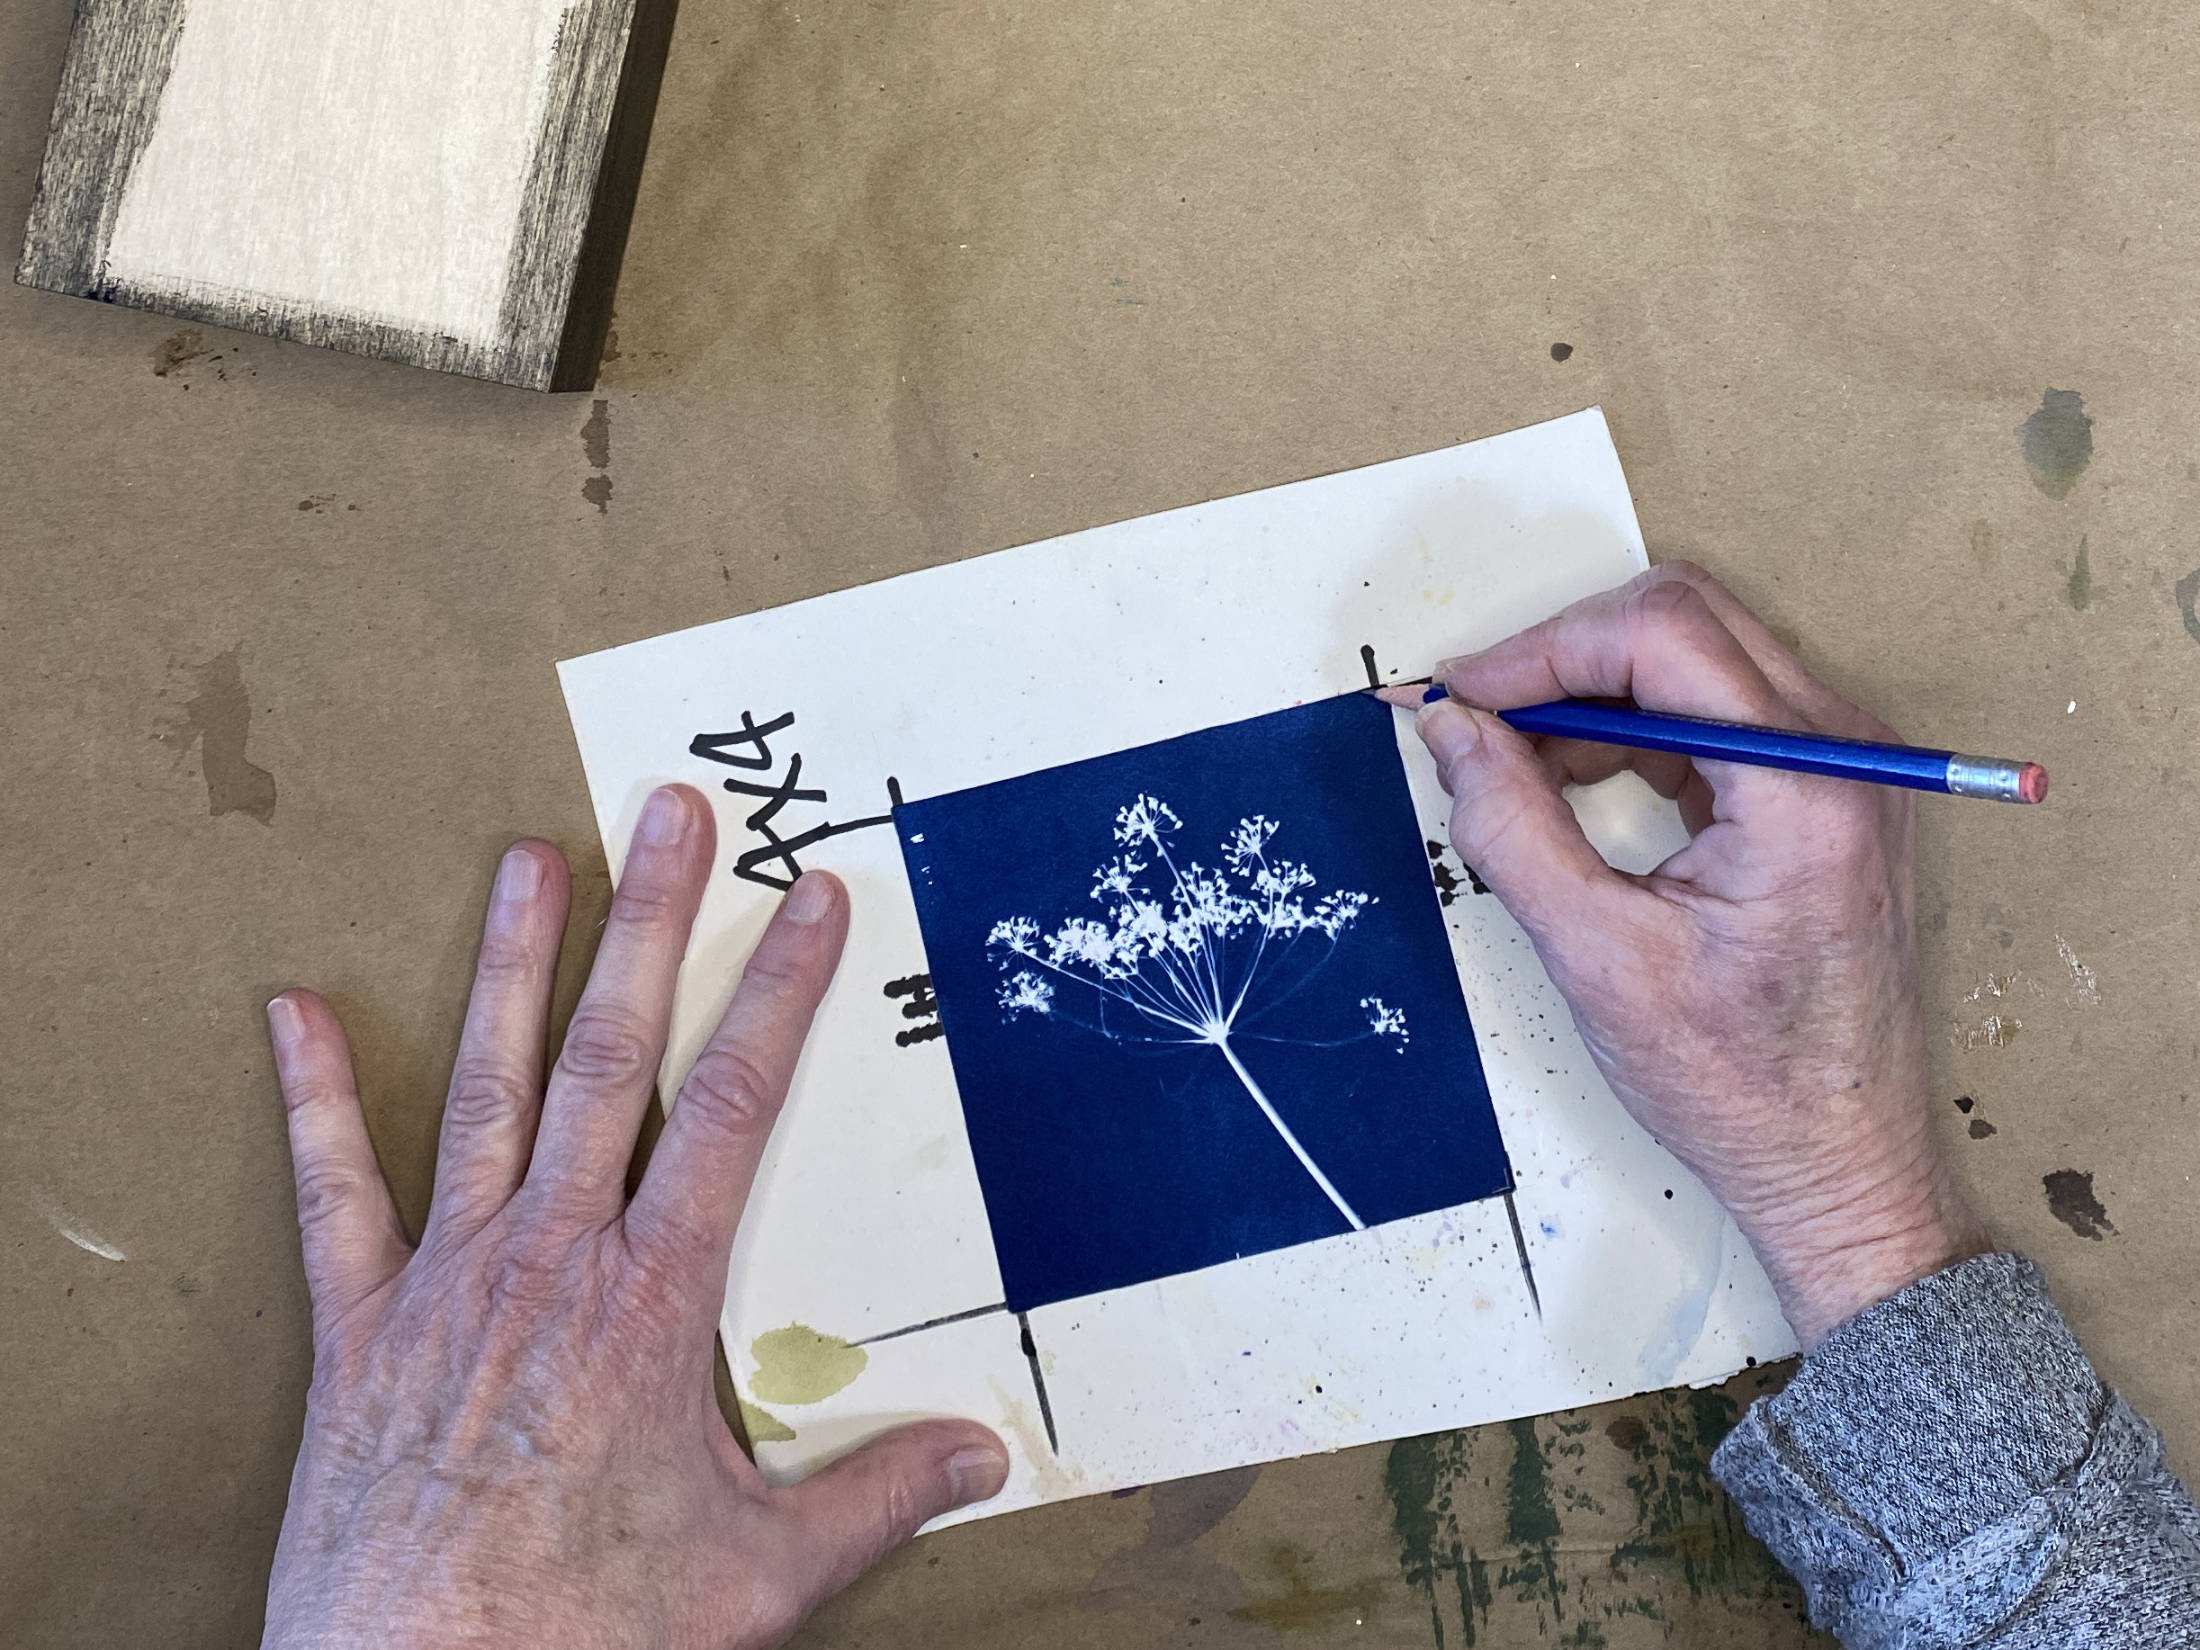
I position the “magic window” on my printed paper focusing on the best part of the print.
Then I mark each corner with a pencil and use these marks to tear down my print to the right size for the cradled panel.
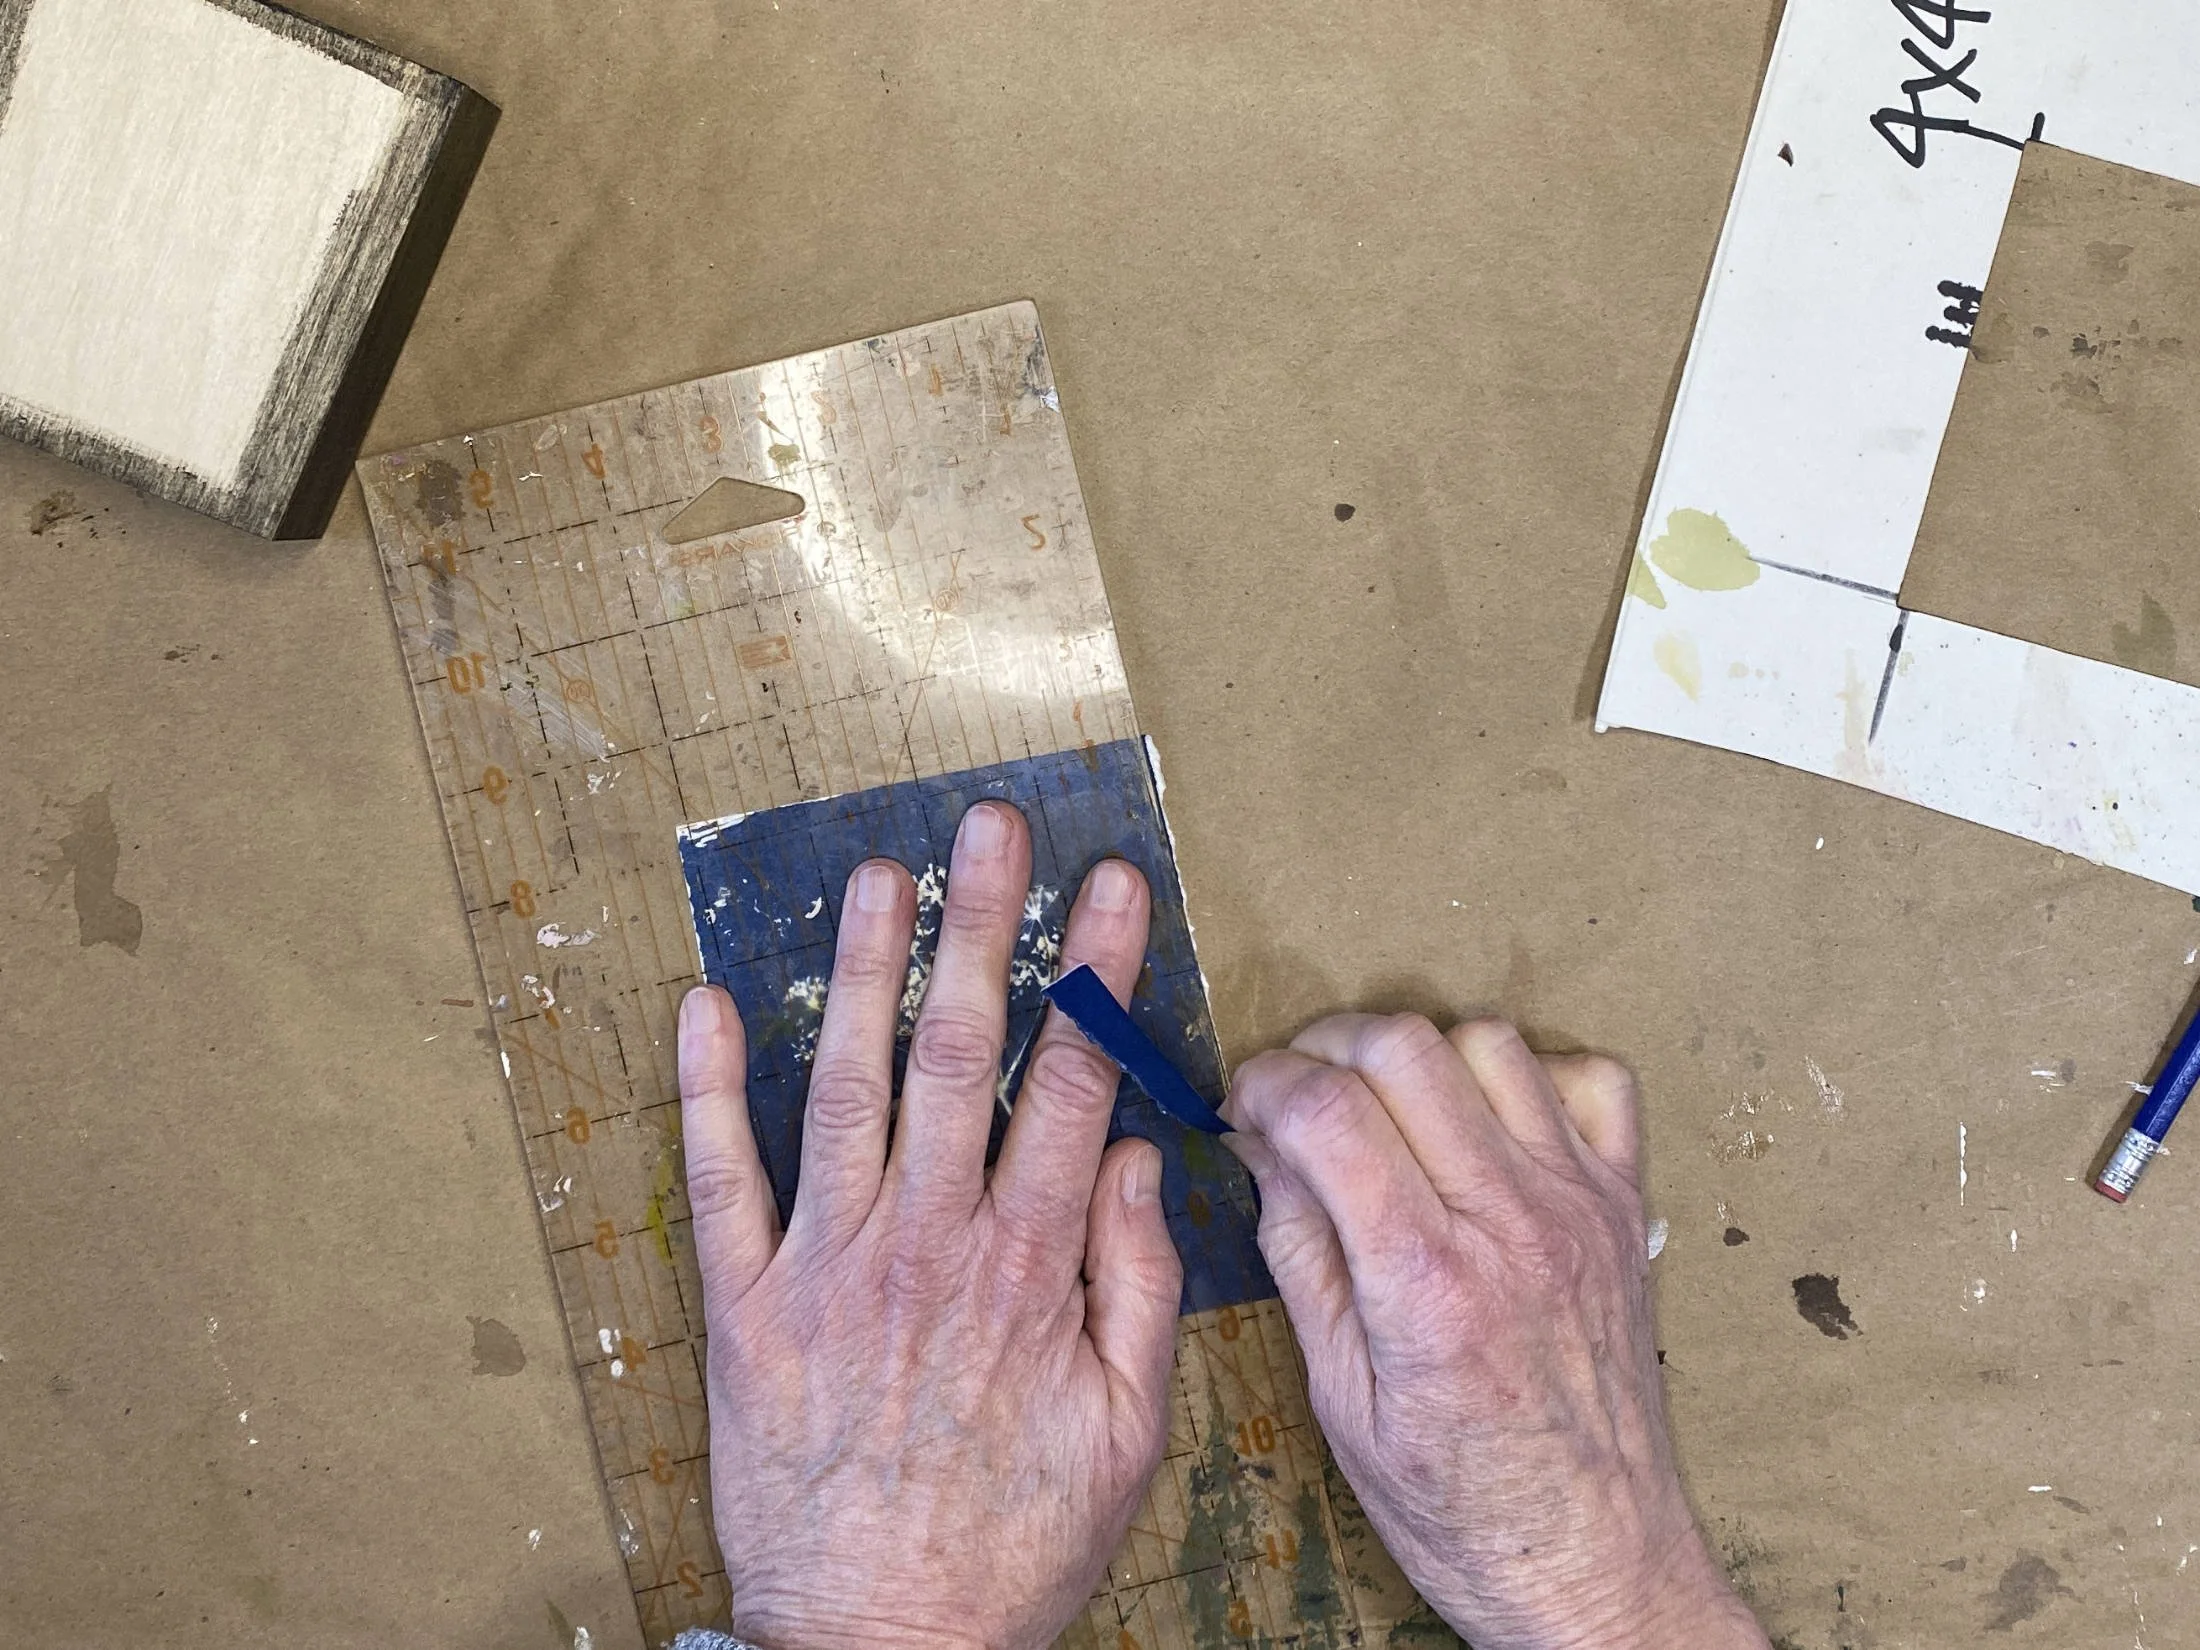
The extra paper on the edges is torn away using a straight-edge following the corner marks.
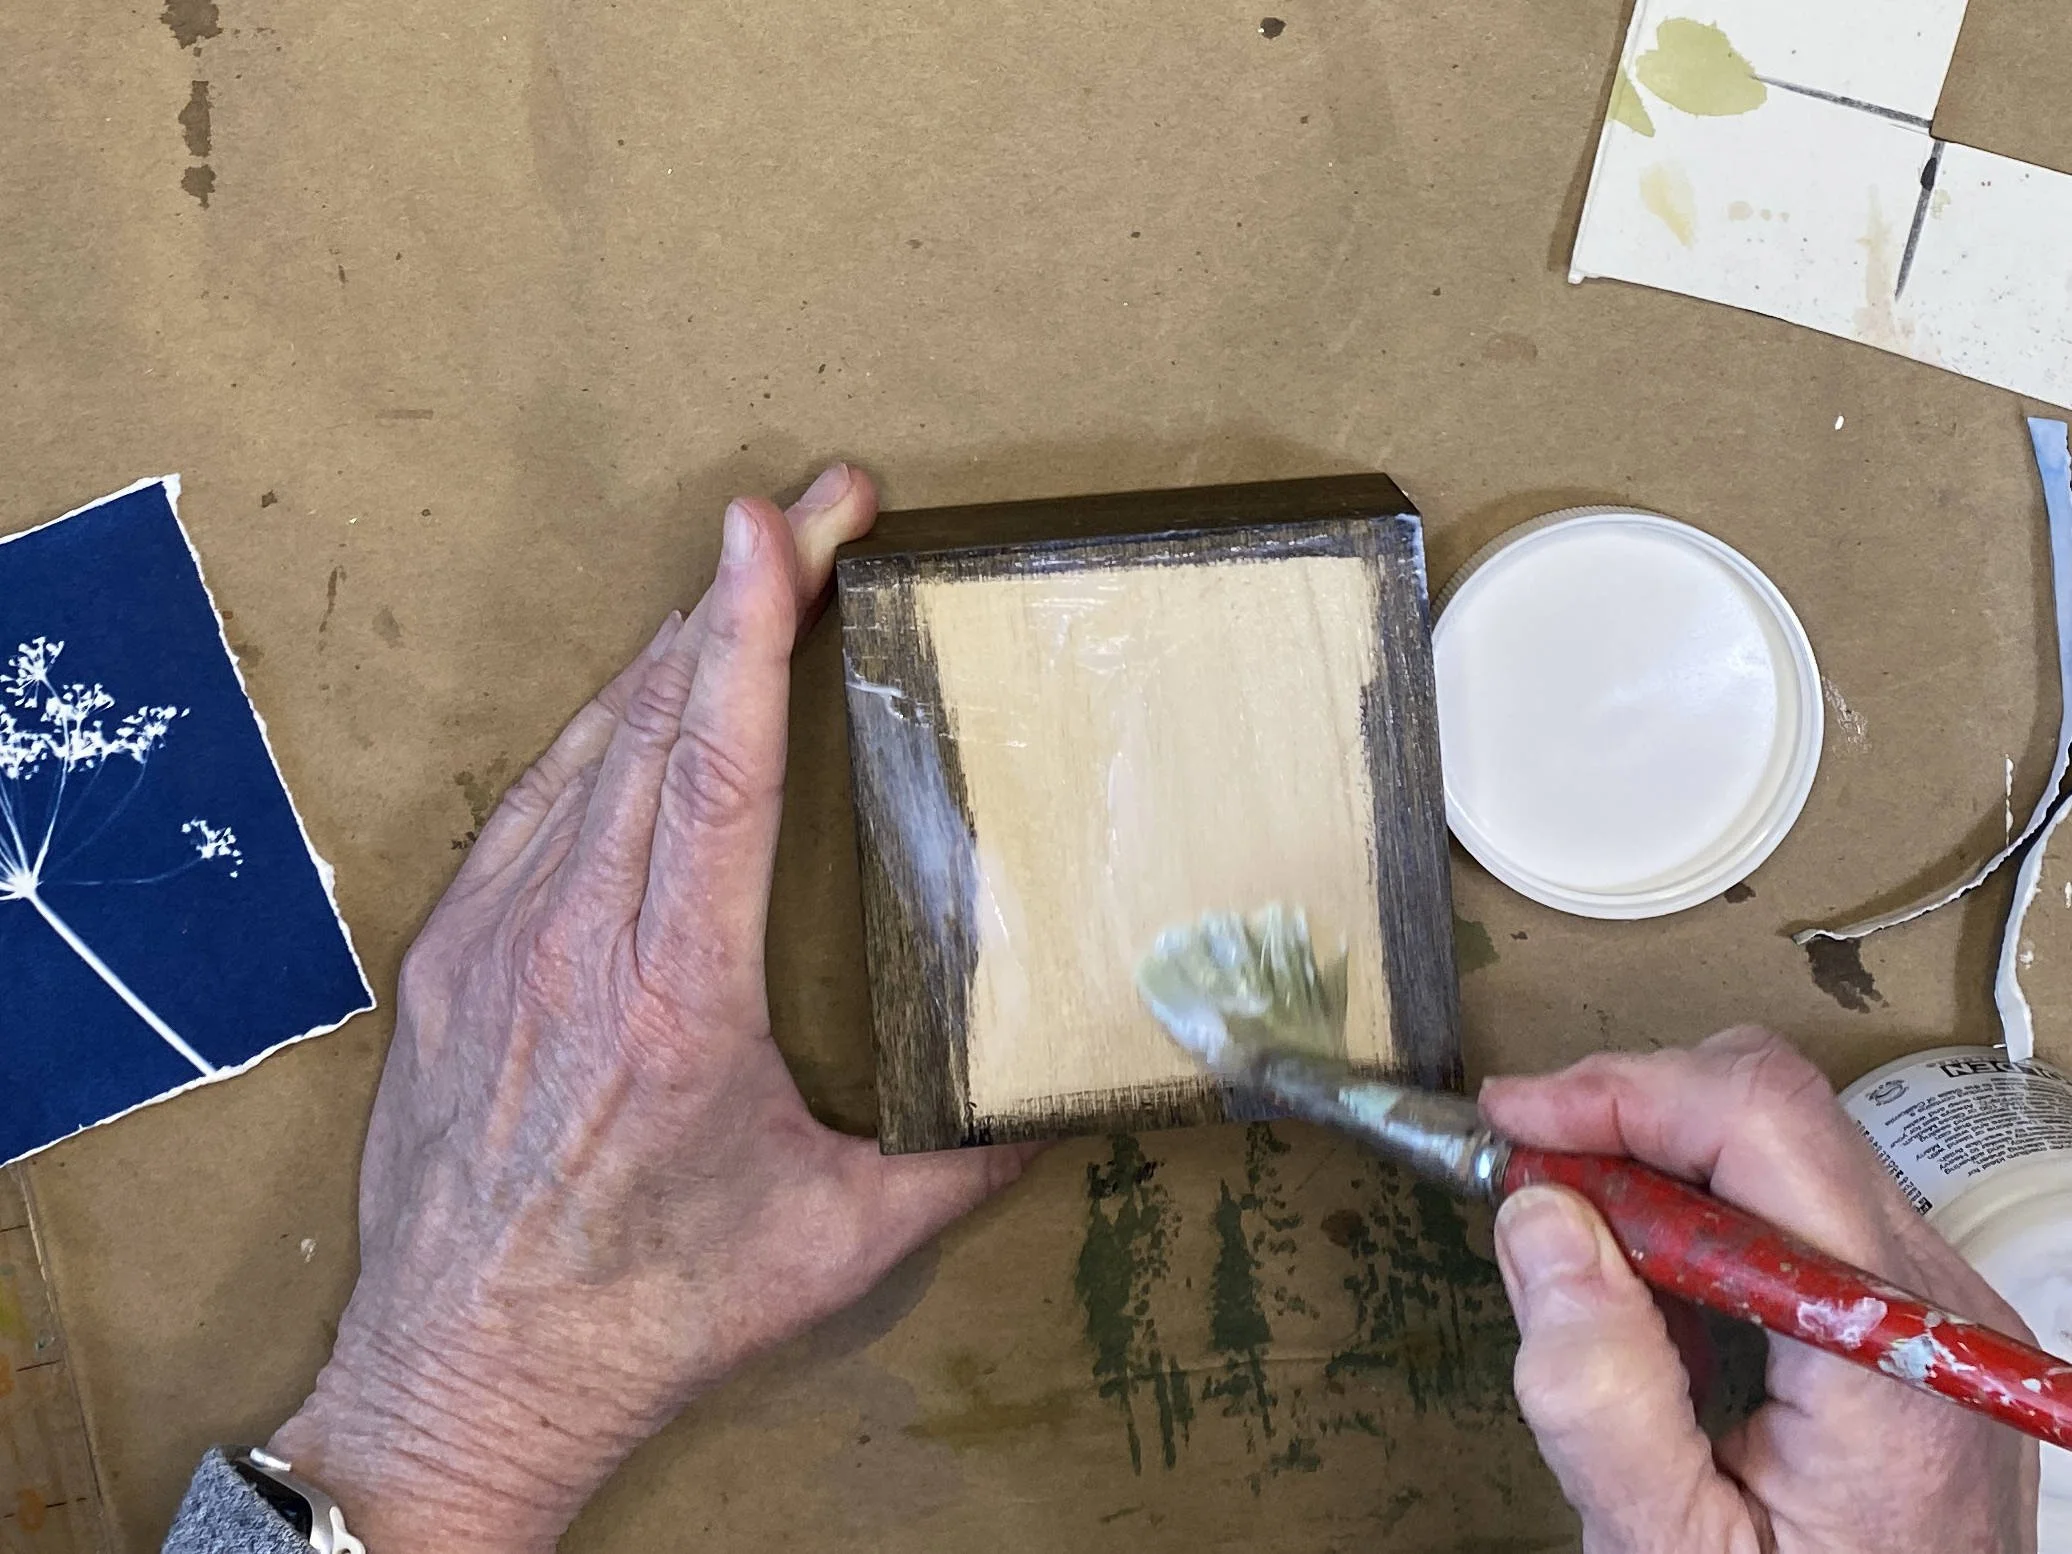
Glue the paper to the cradled wood panel
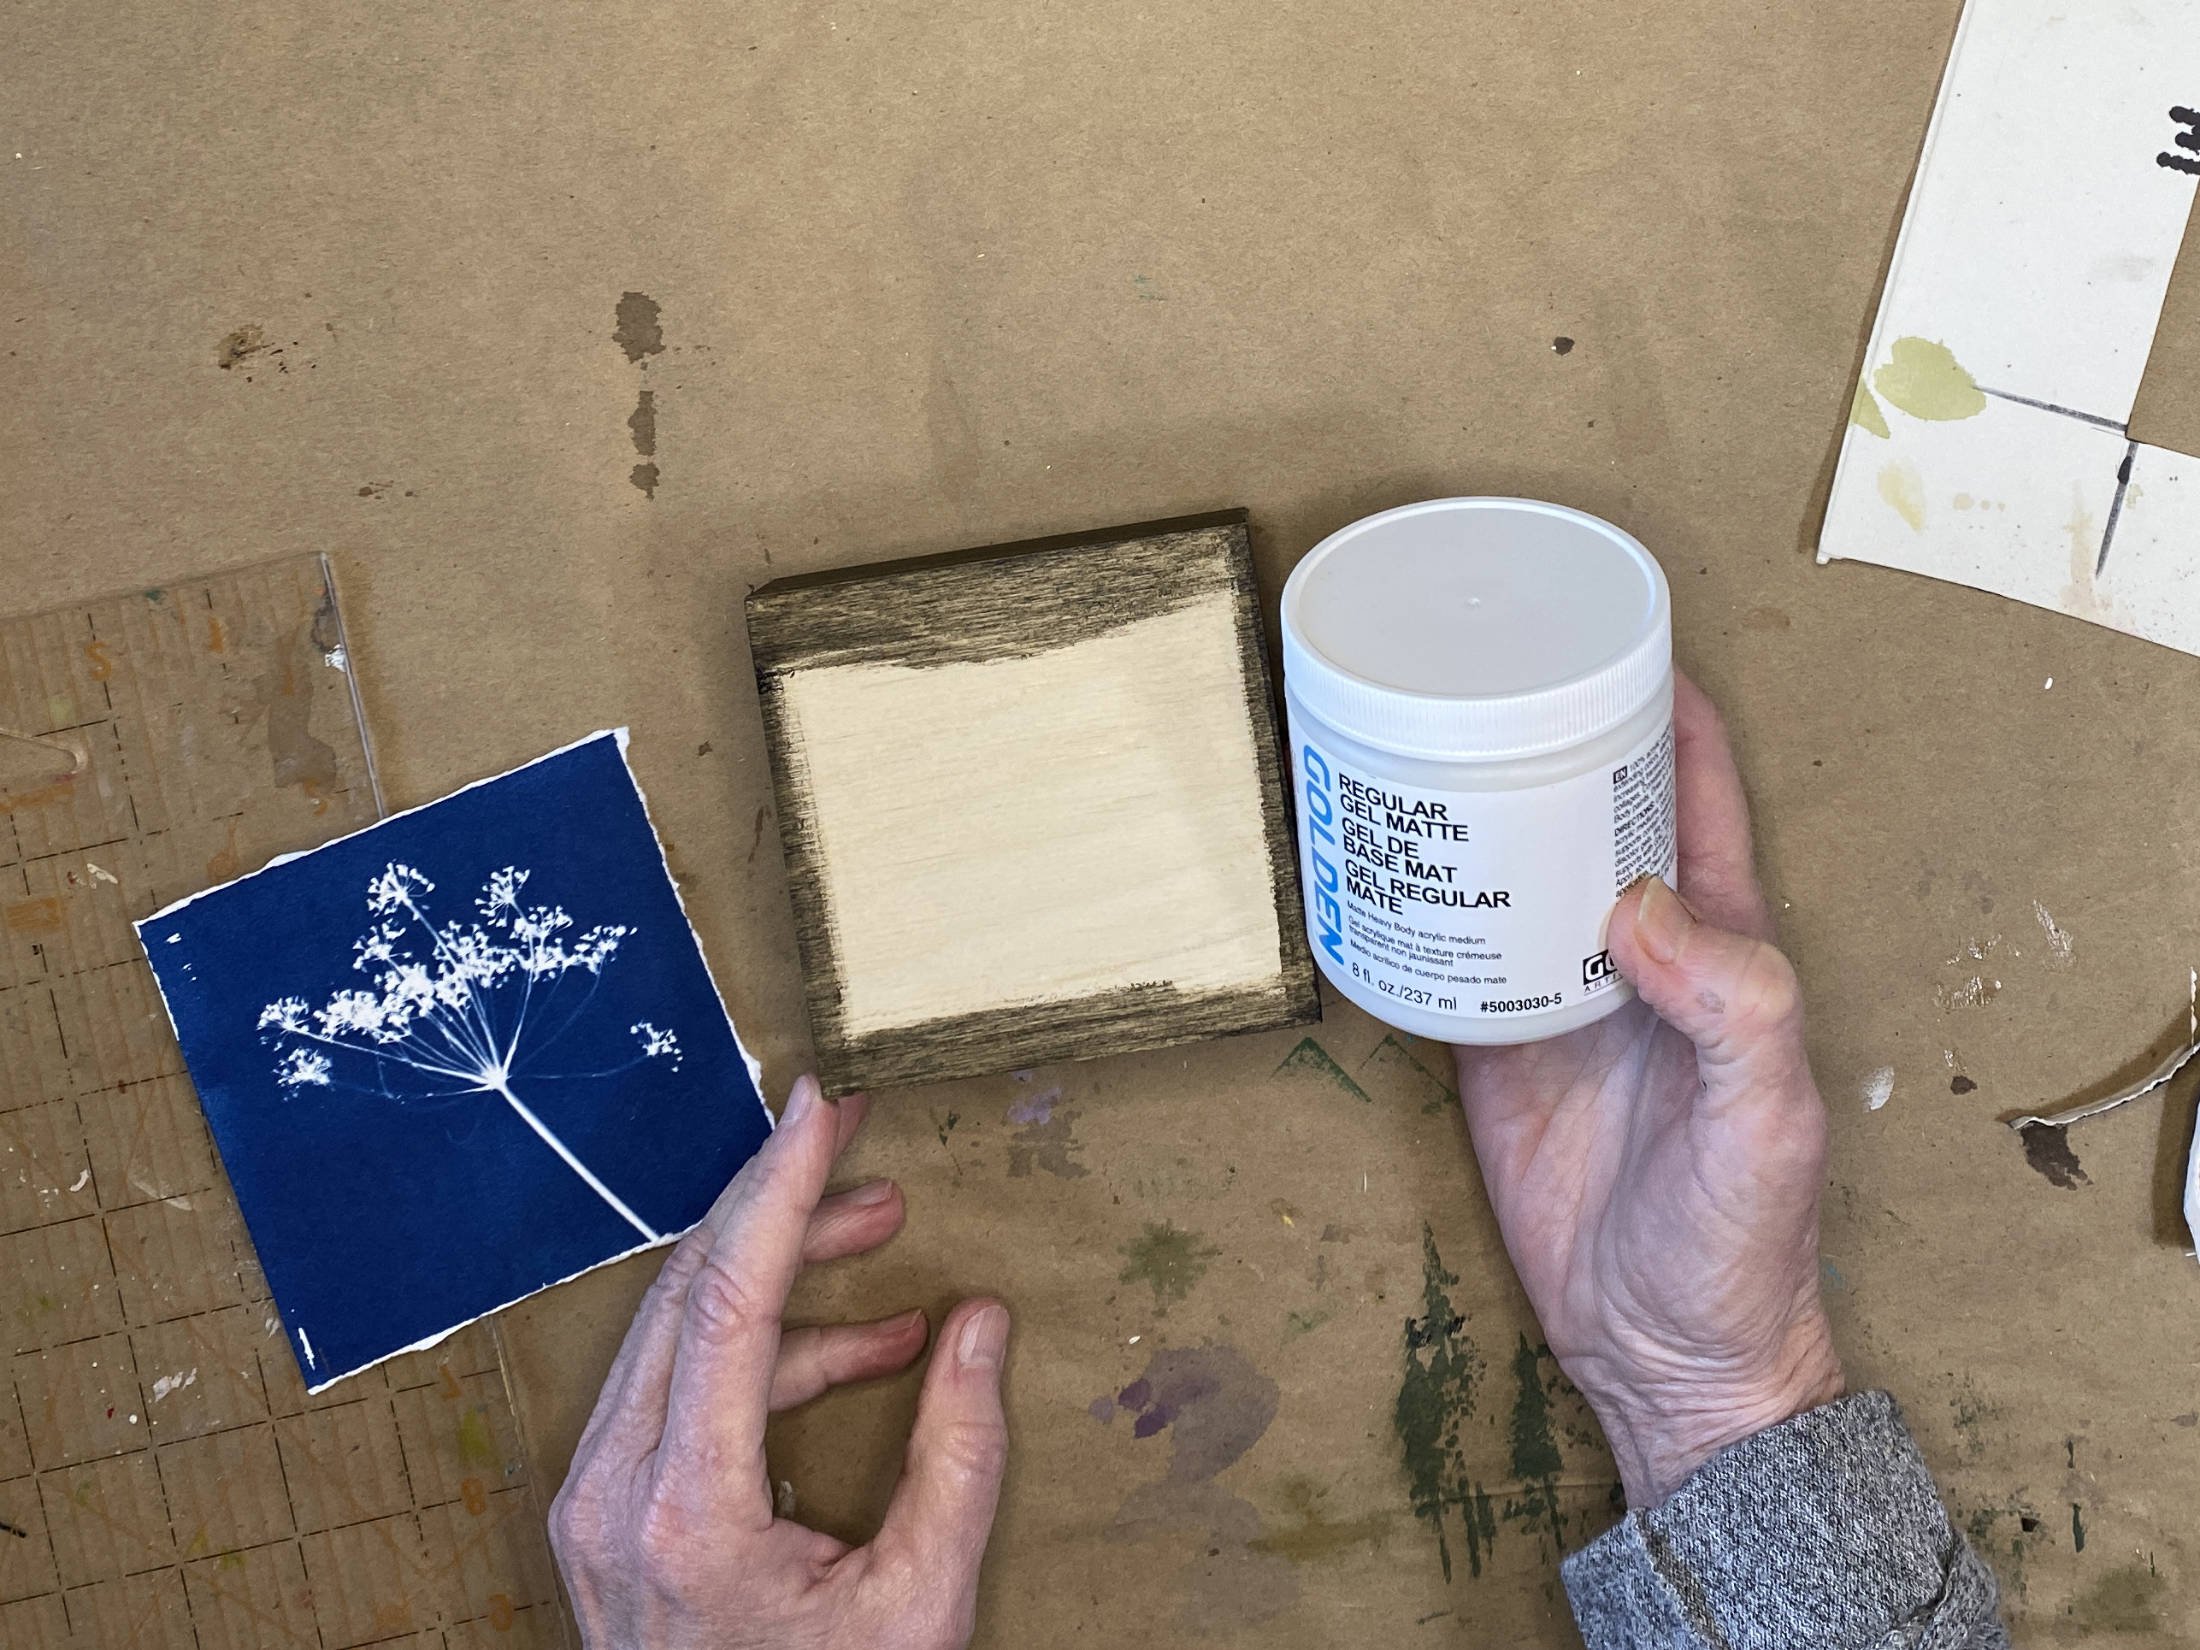
Use regular gel medium as the adhesive to glue down the paper
I brush on a coat of regular gel medium to the panel.
I lay the trimmed paper on the panel and use a brayer to make sure it’s stuck down tight. (You can use the back of a spoon if you don’t have a brayer.)
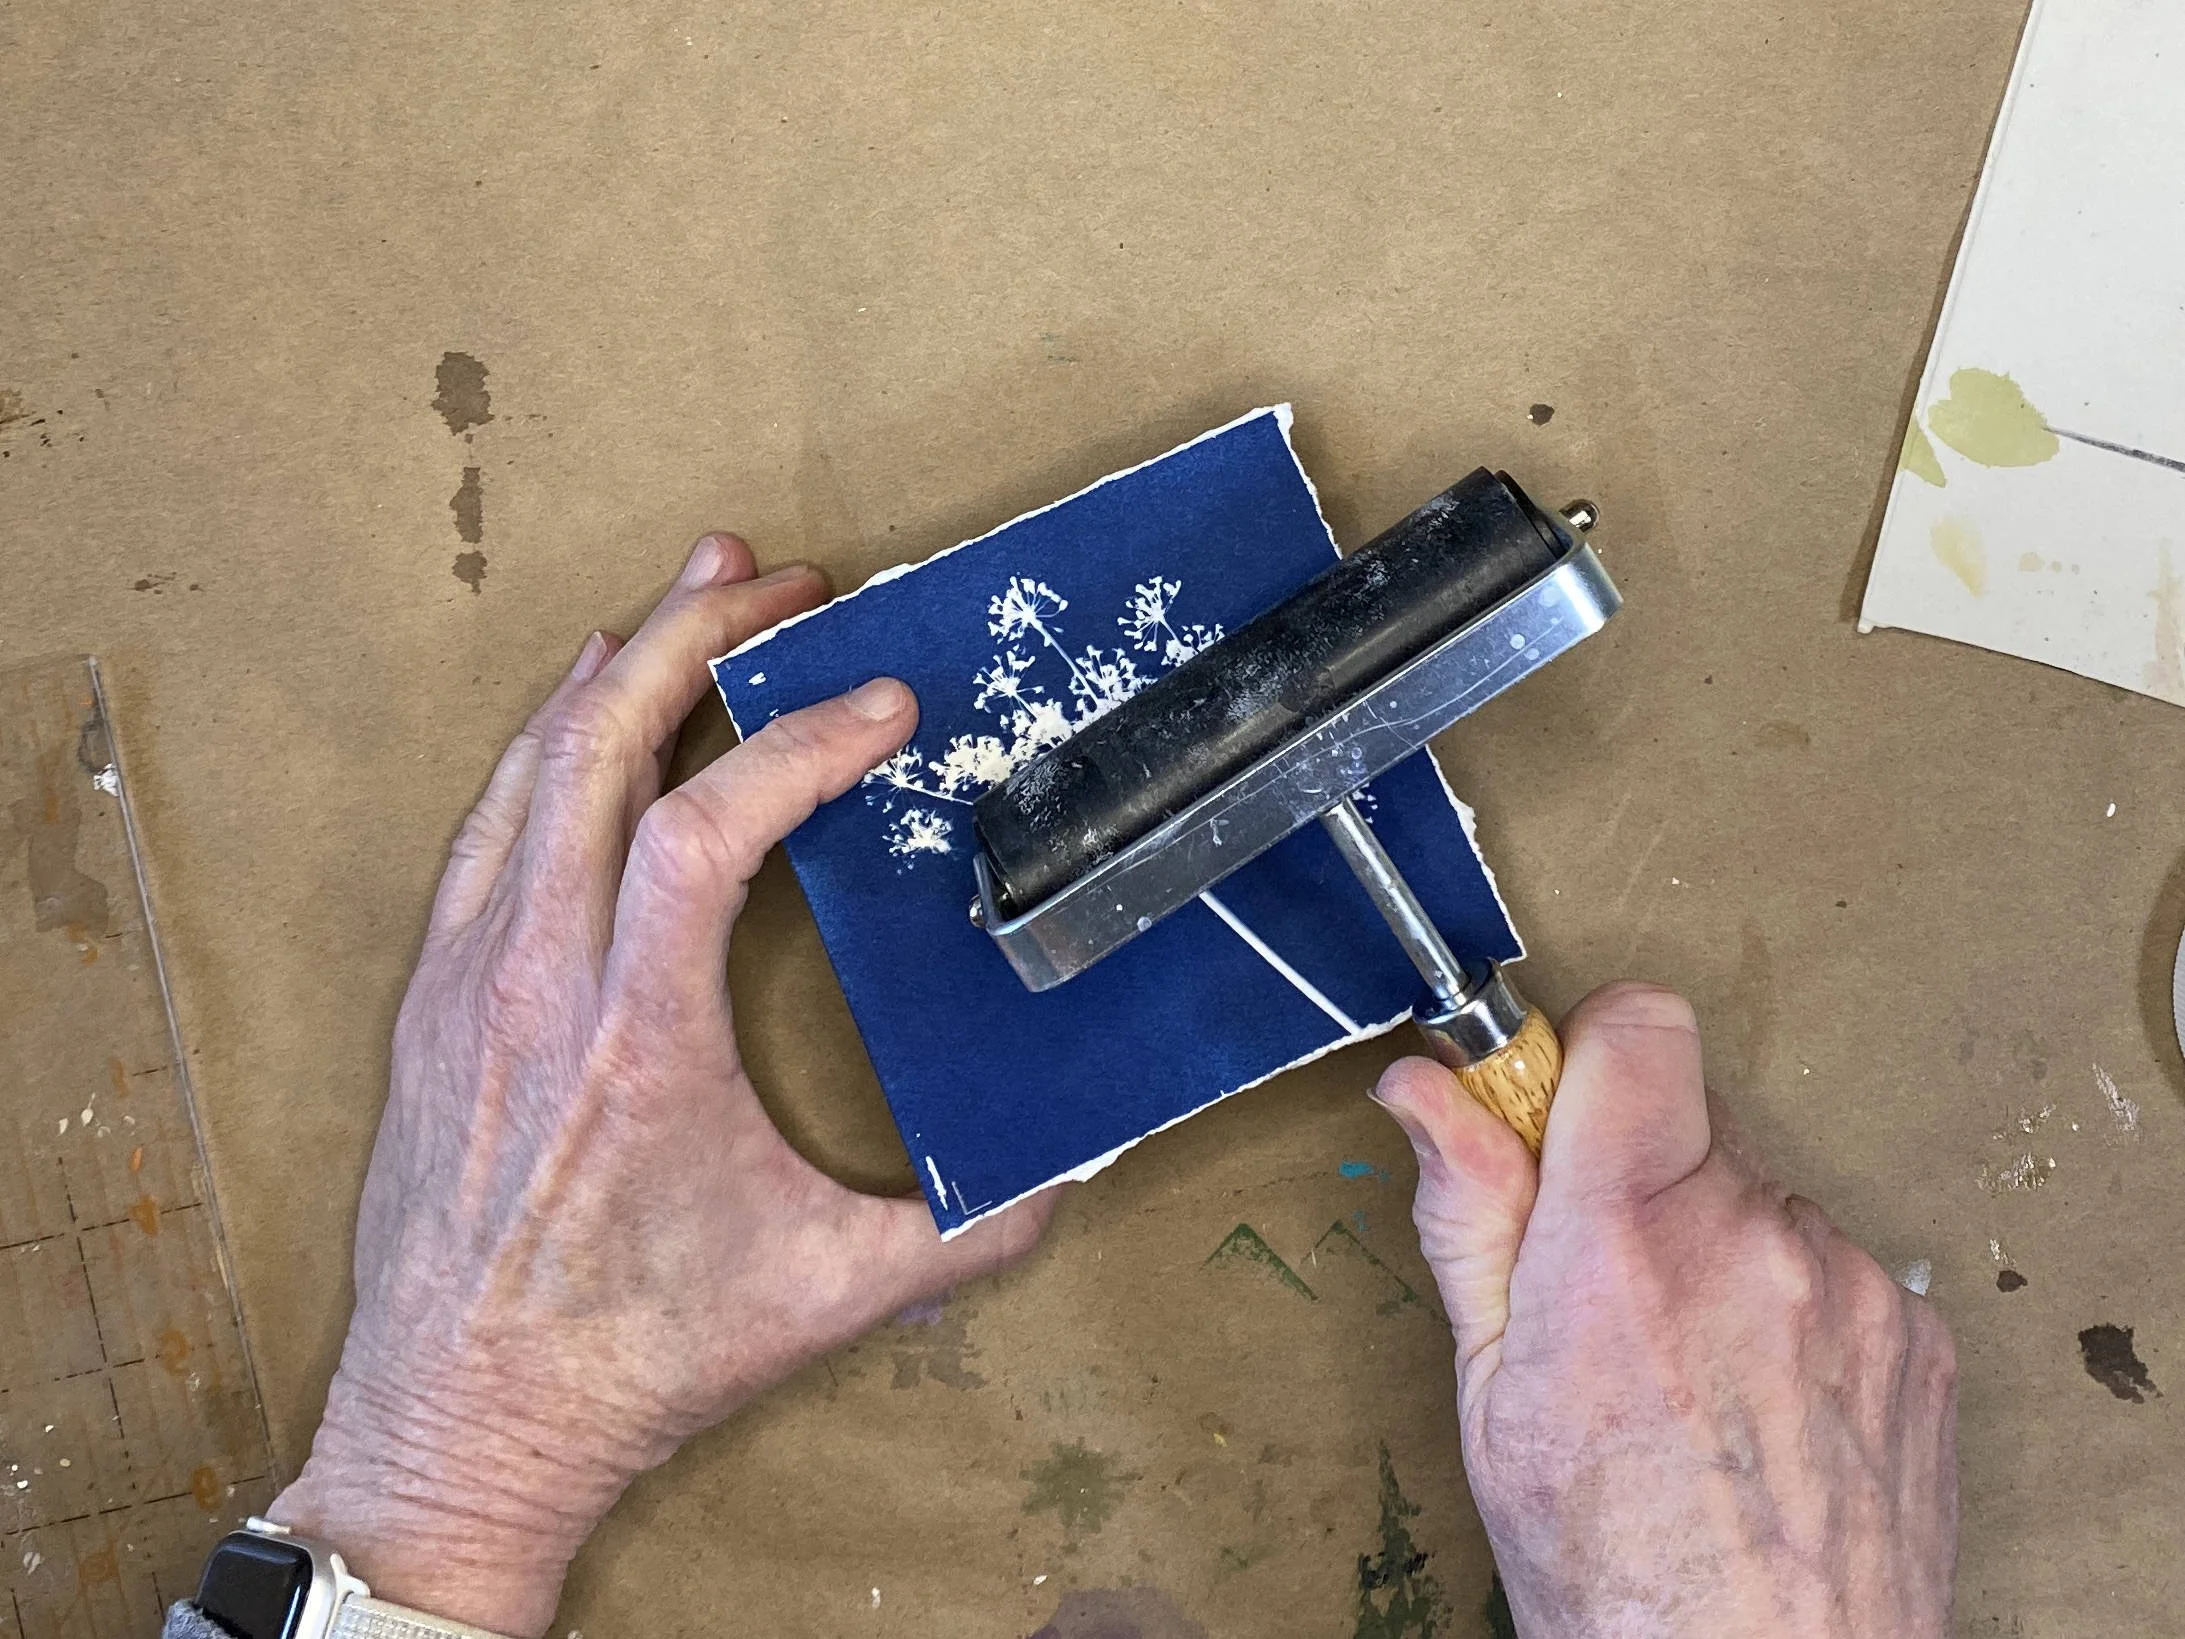
Rolling a brayer across the paper ensures good adhesion especially on the corners.
I put the panel between two heavy books and let it dry.
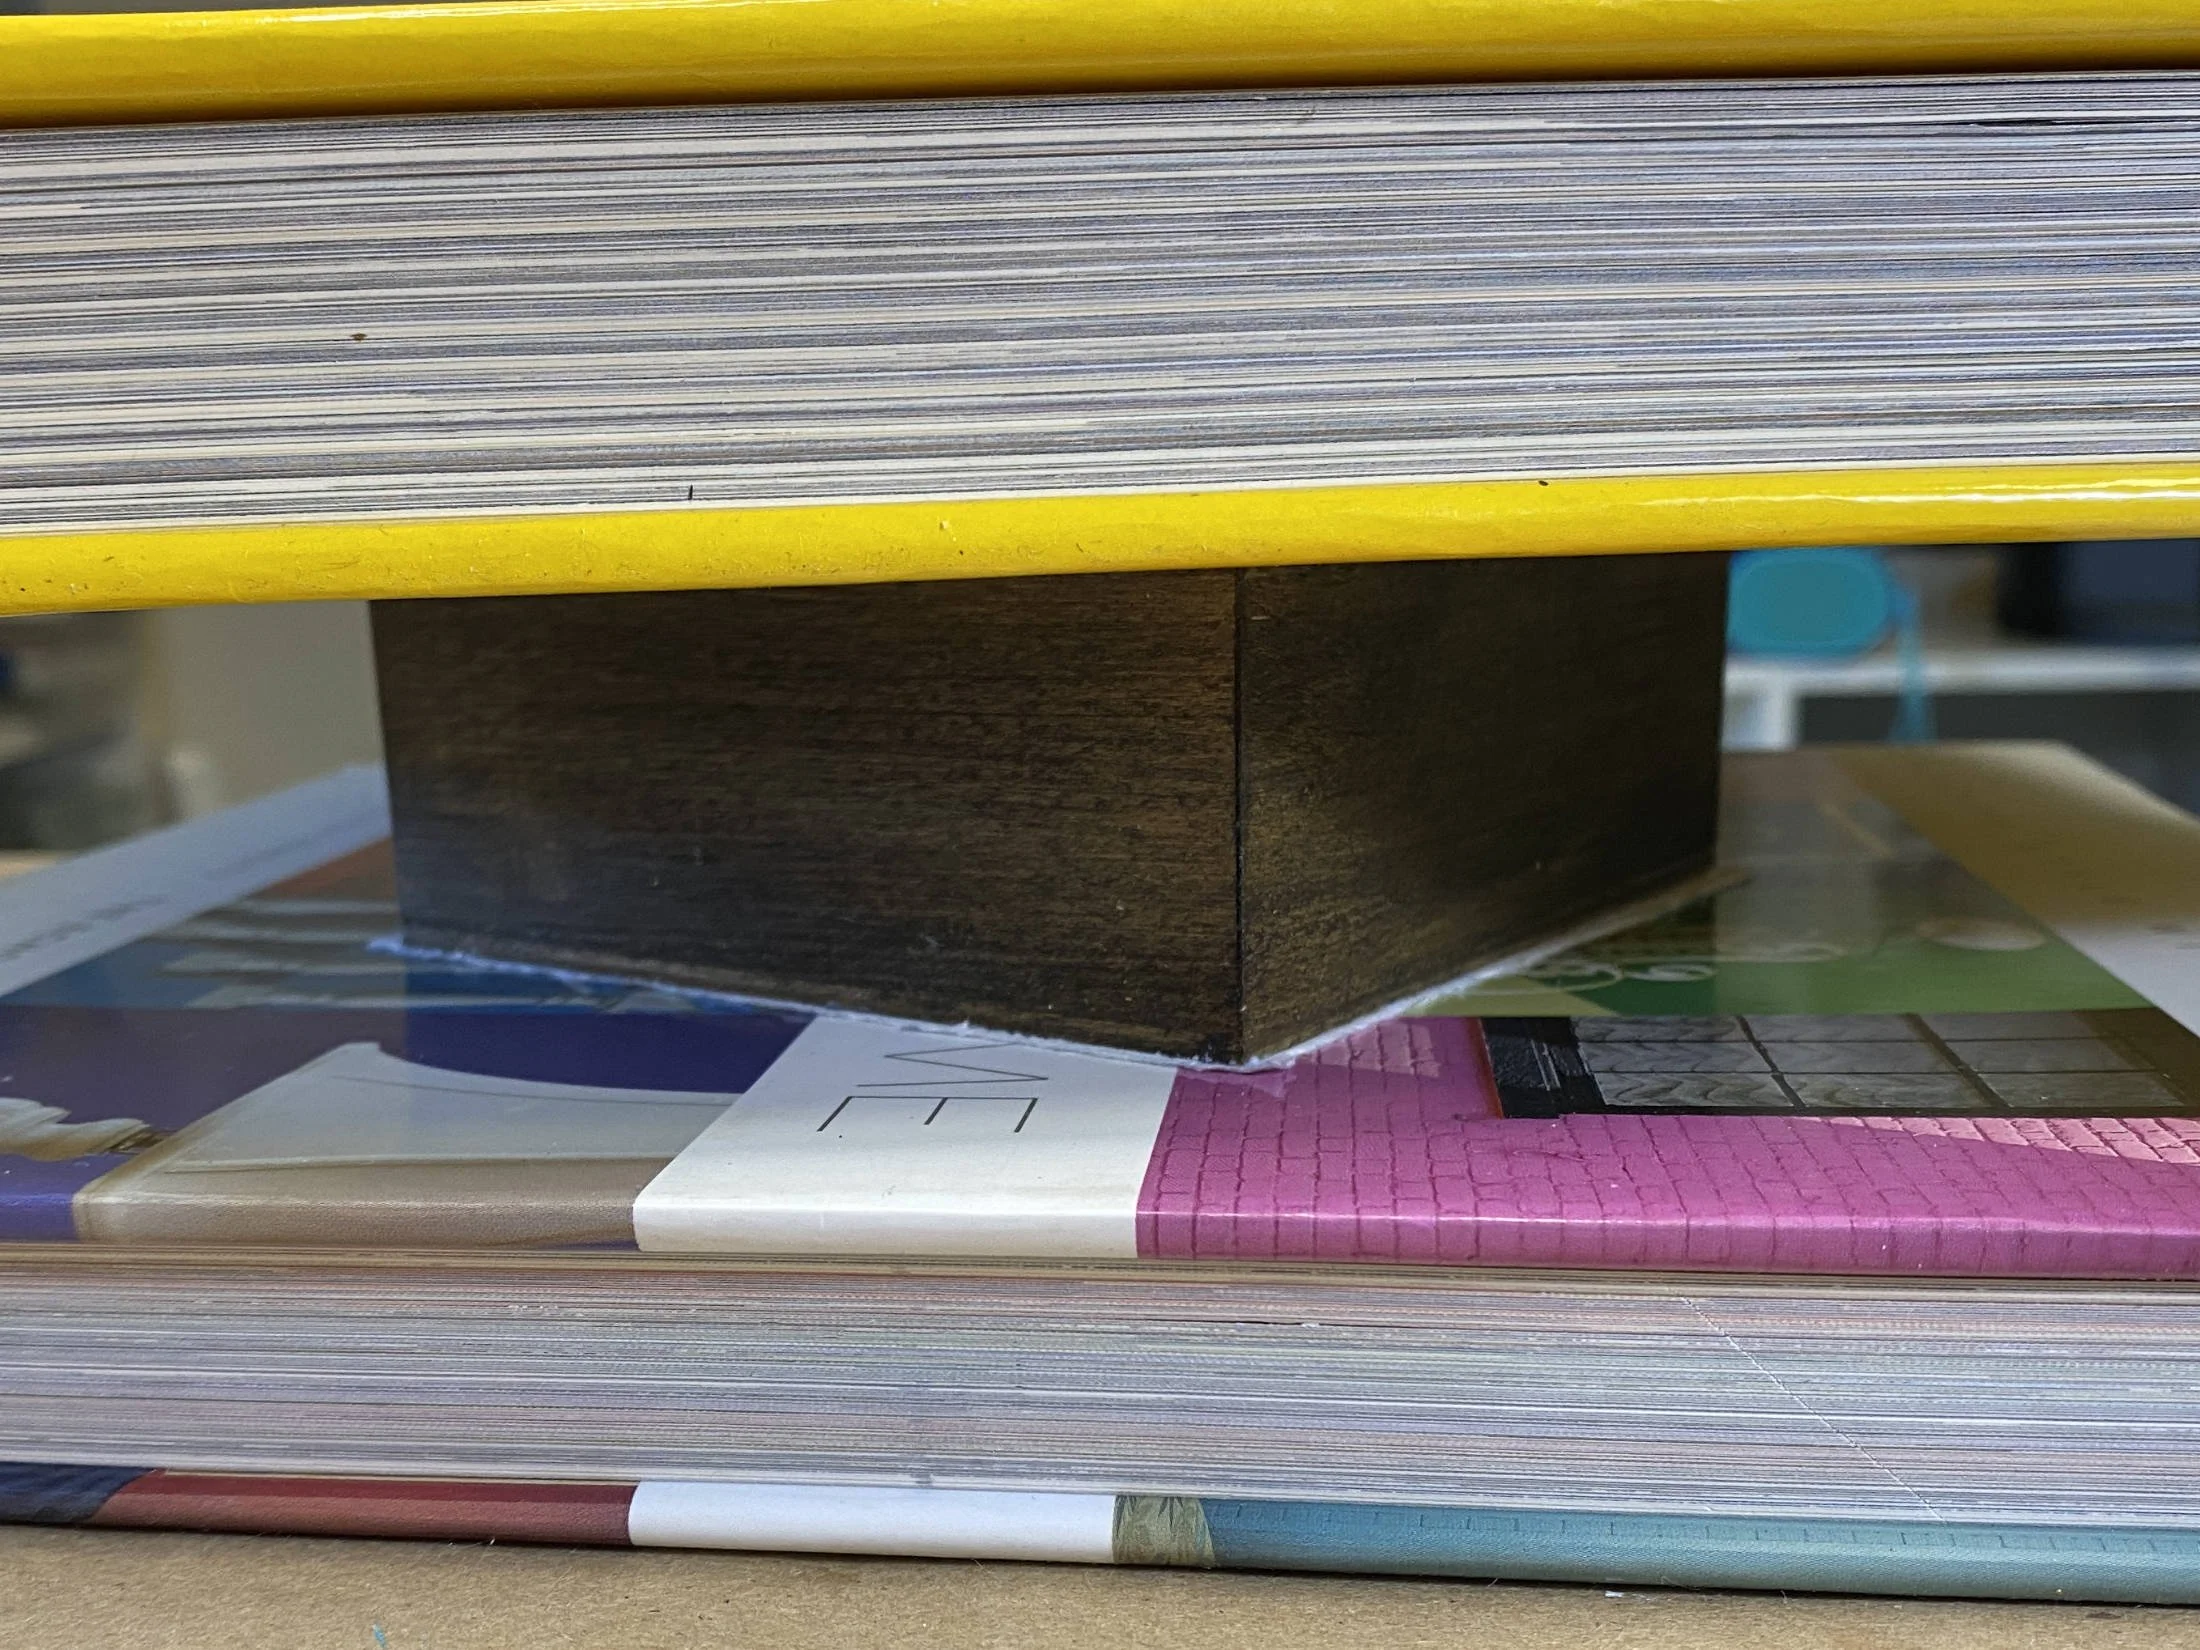
Even the corners of the paper will stick to the panel if it dries between two heavy books.
Sand the edges of the paper to fit the panel
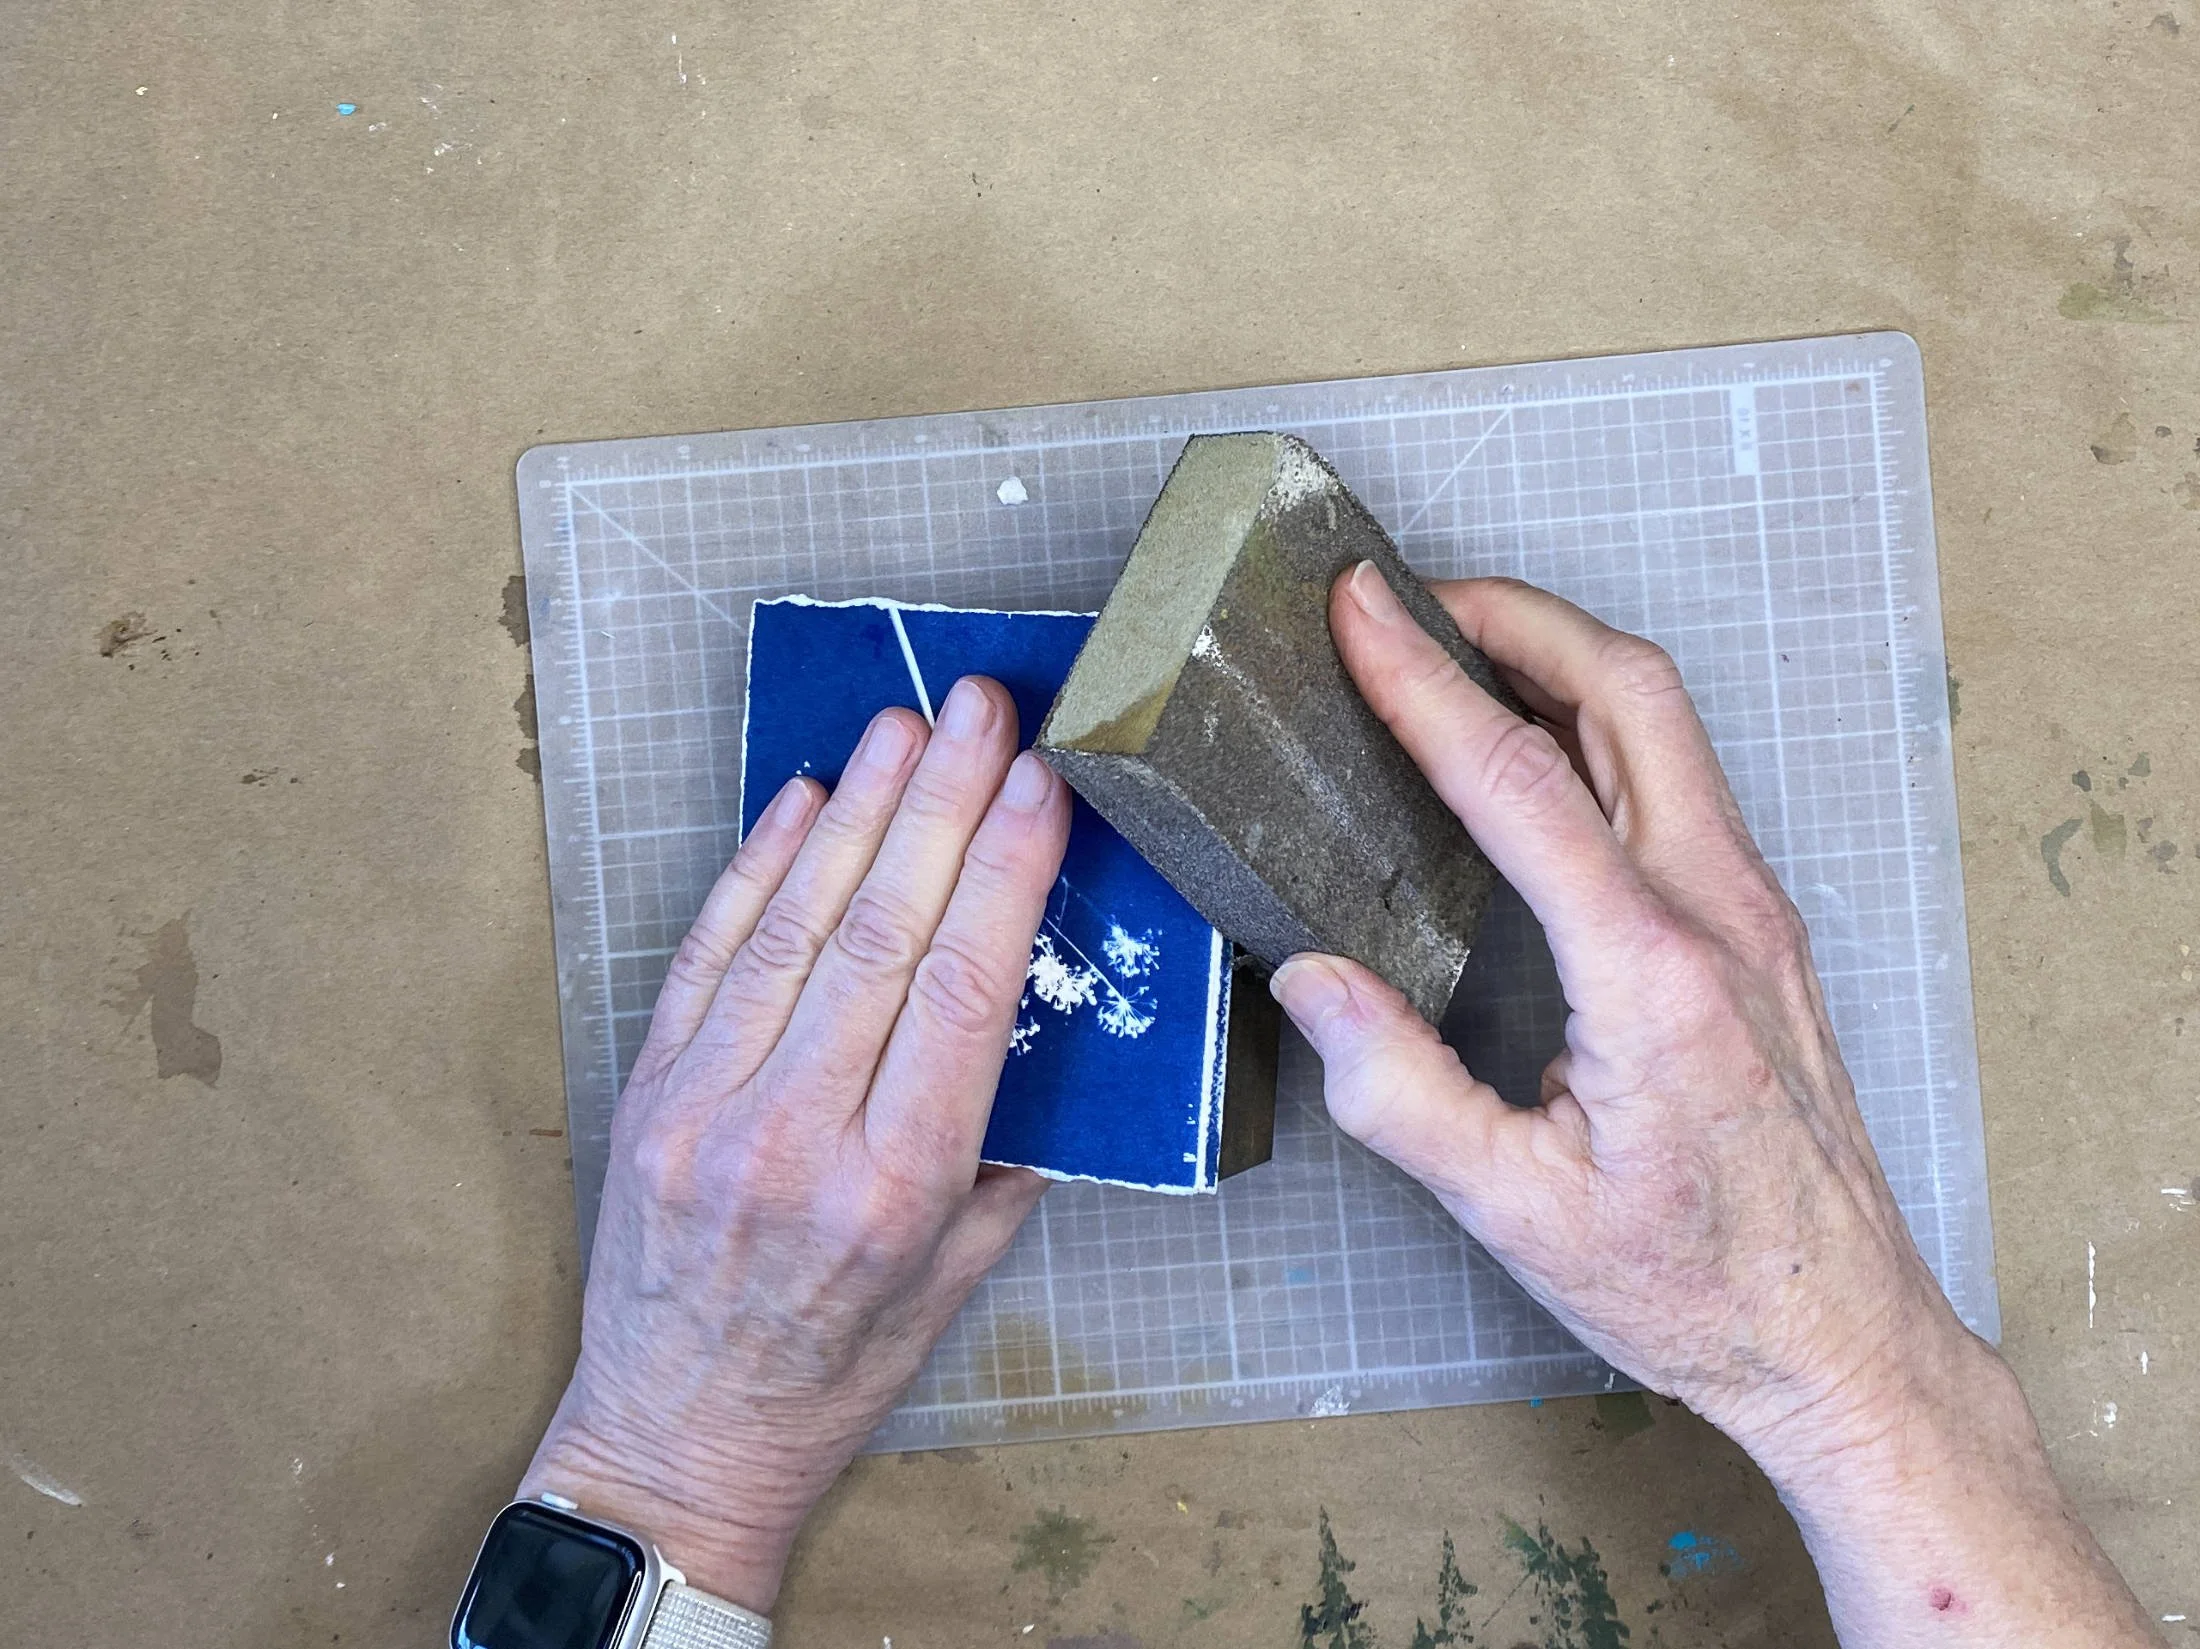
Be sure to use only a downward sanding stroke. If I sand up, I’ll damage my paper.
After the medium is dry, I use a sanding block to sand off the edges of the paper that sticks beyond the edge of the cradled panel.
Sanding off the excess paper leaves a lovely edge. I only sand in a downward motion. Not up and down.
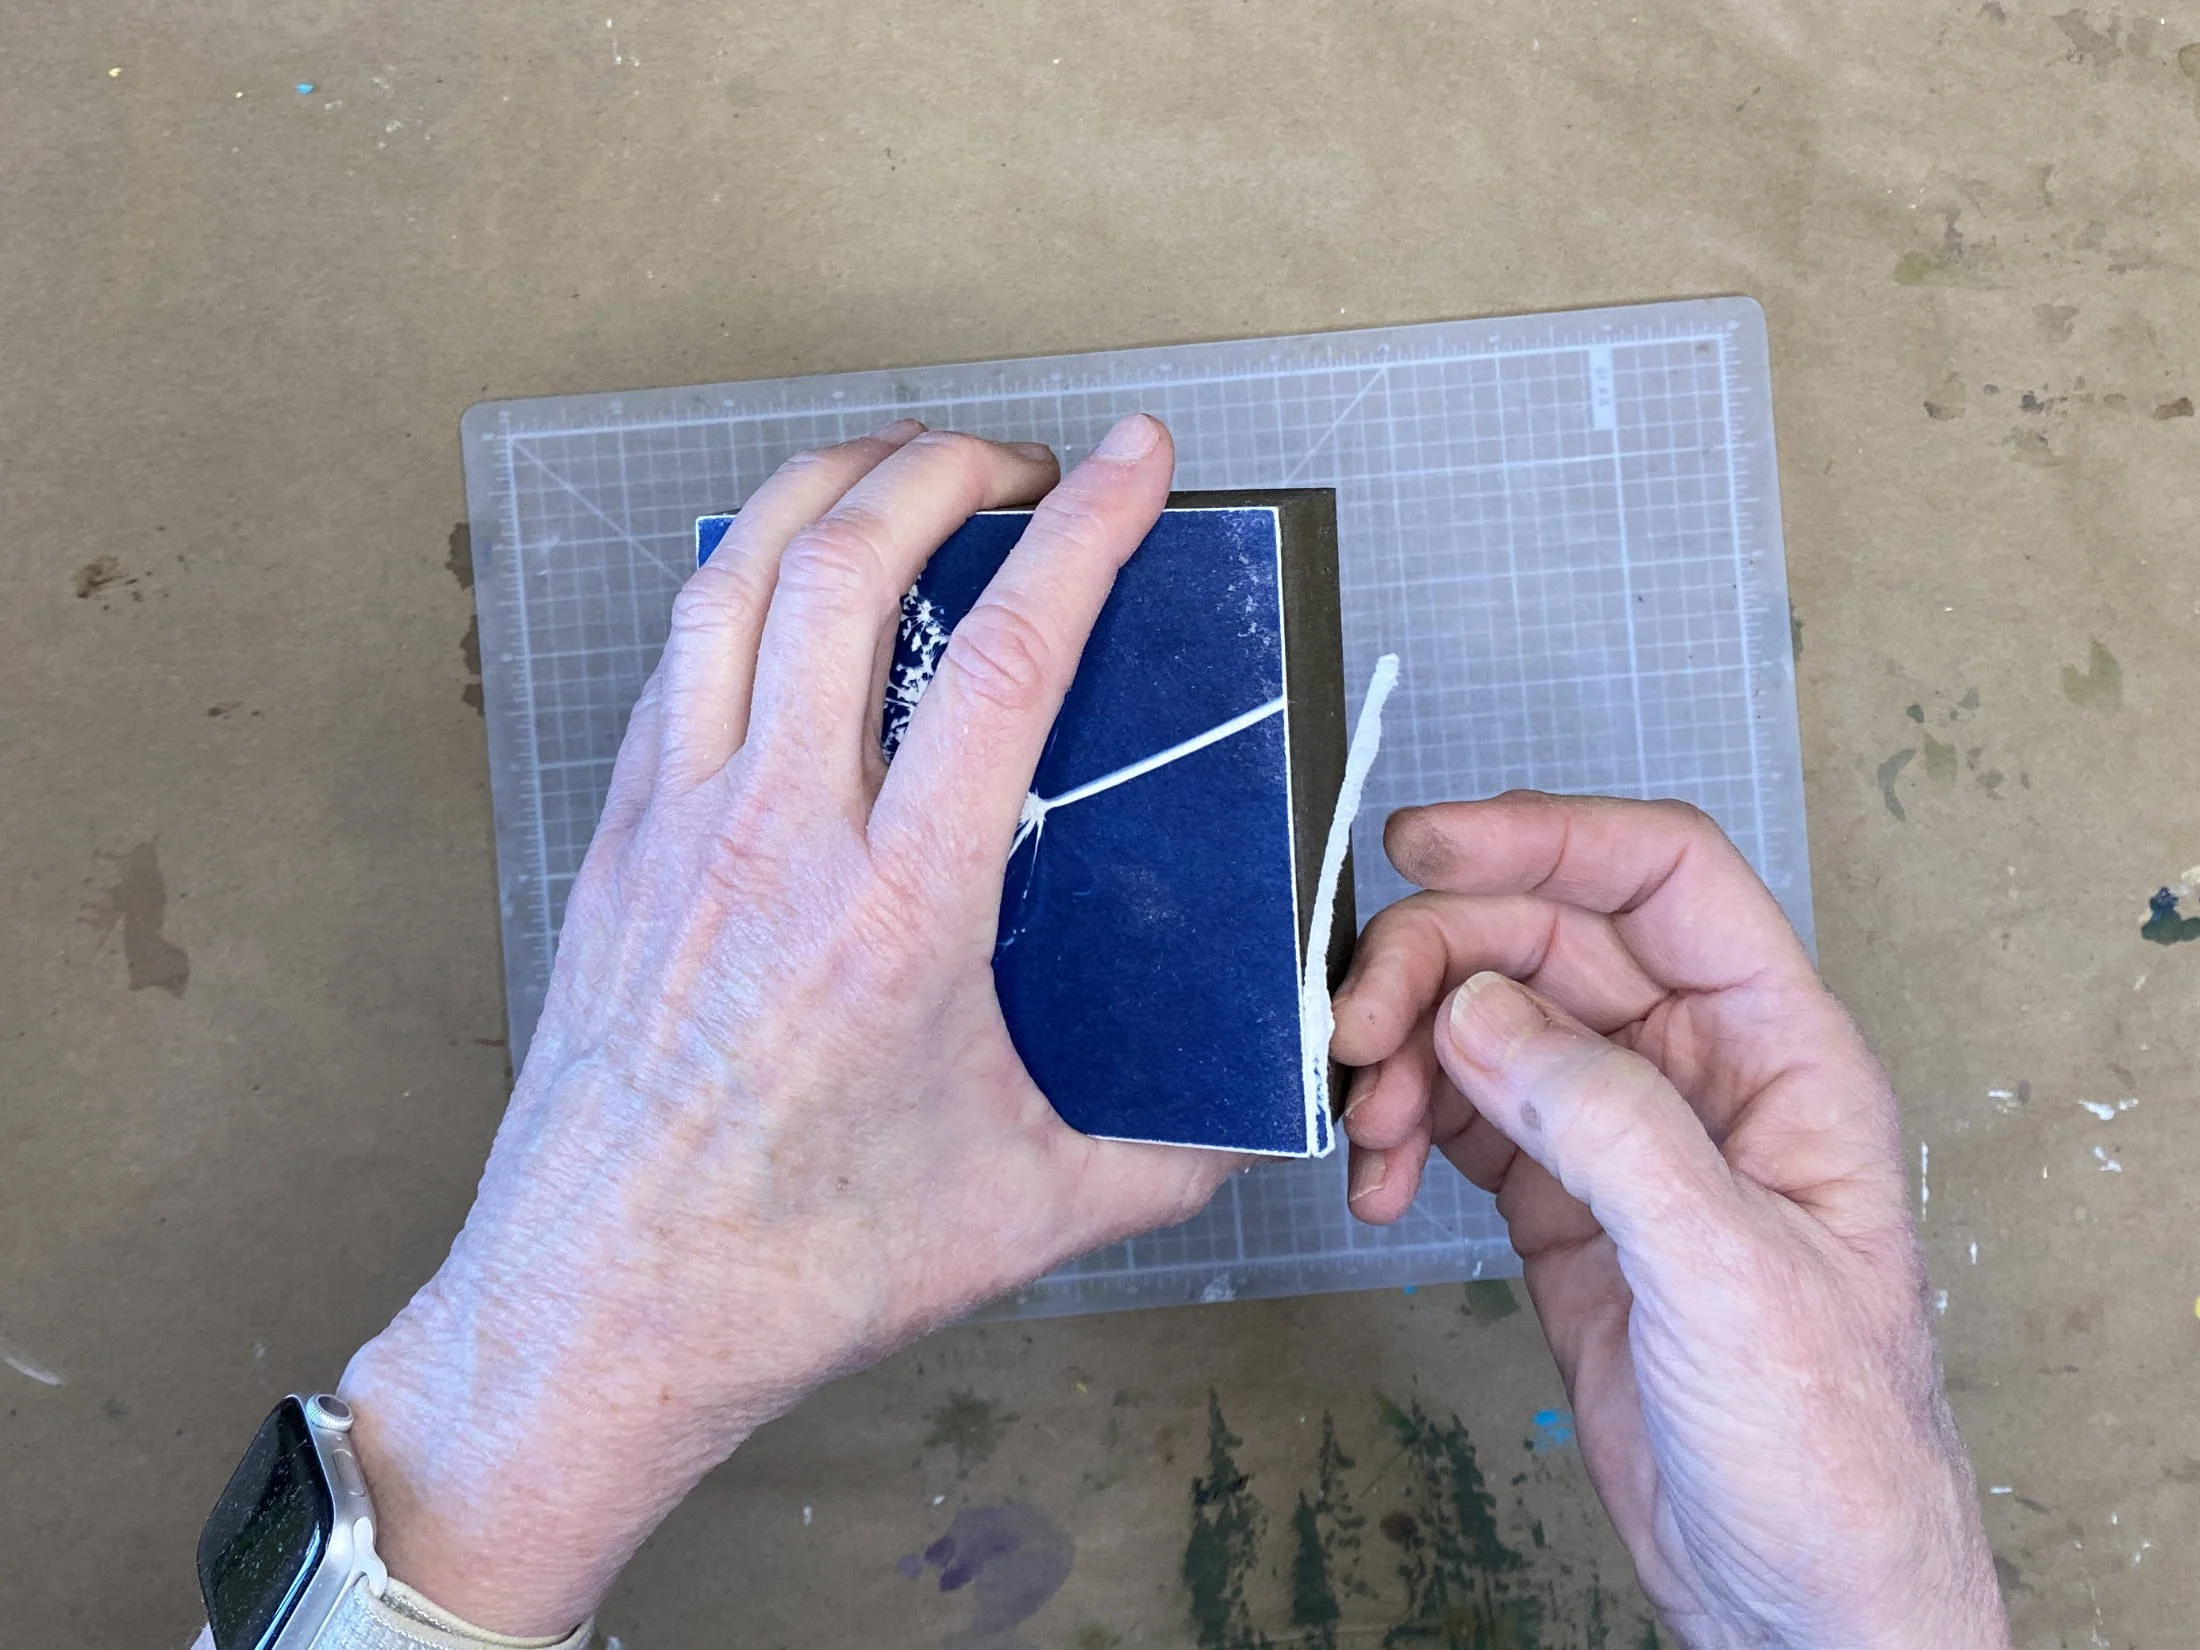
Remove the sanded paper edge
When I sand the paper in a downward motion, I’m sanding away the paper right up to the edge where it’s glued to the cradled panel. This extra paper will be easy to pull away when it’s been sanded enough. The result is a beautiful, clean edge.
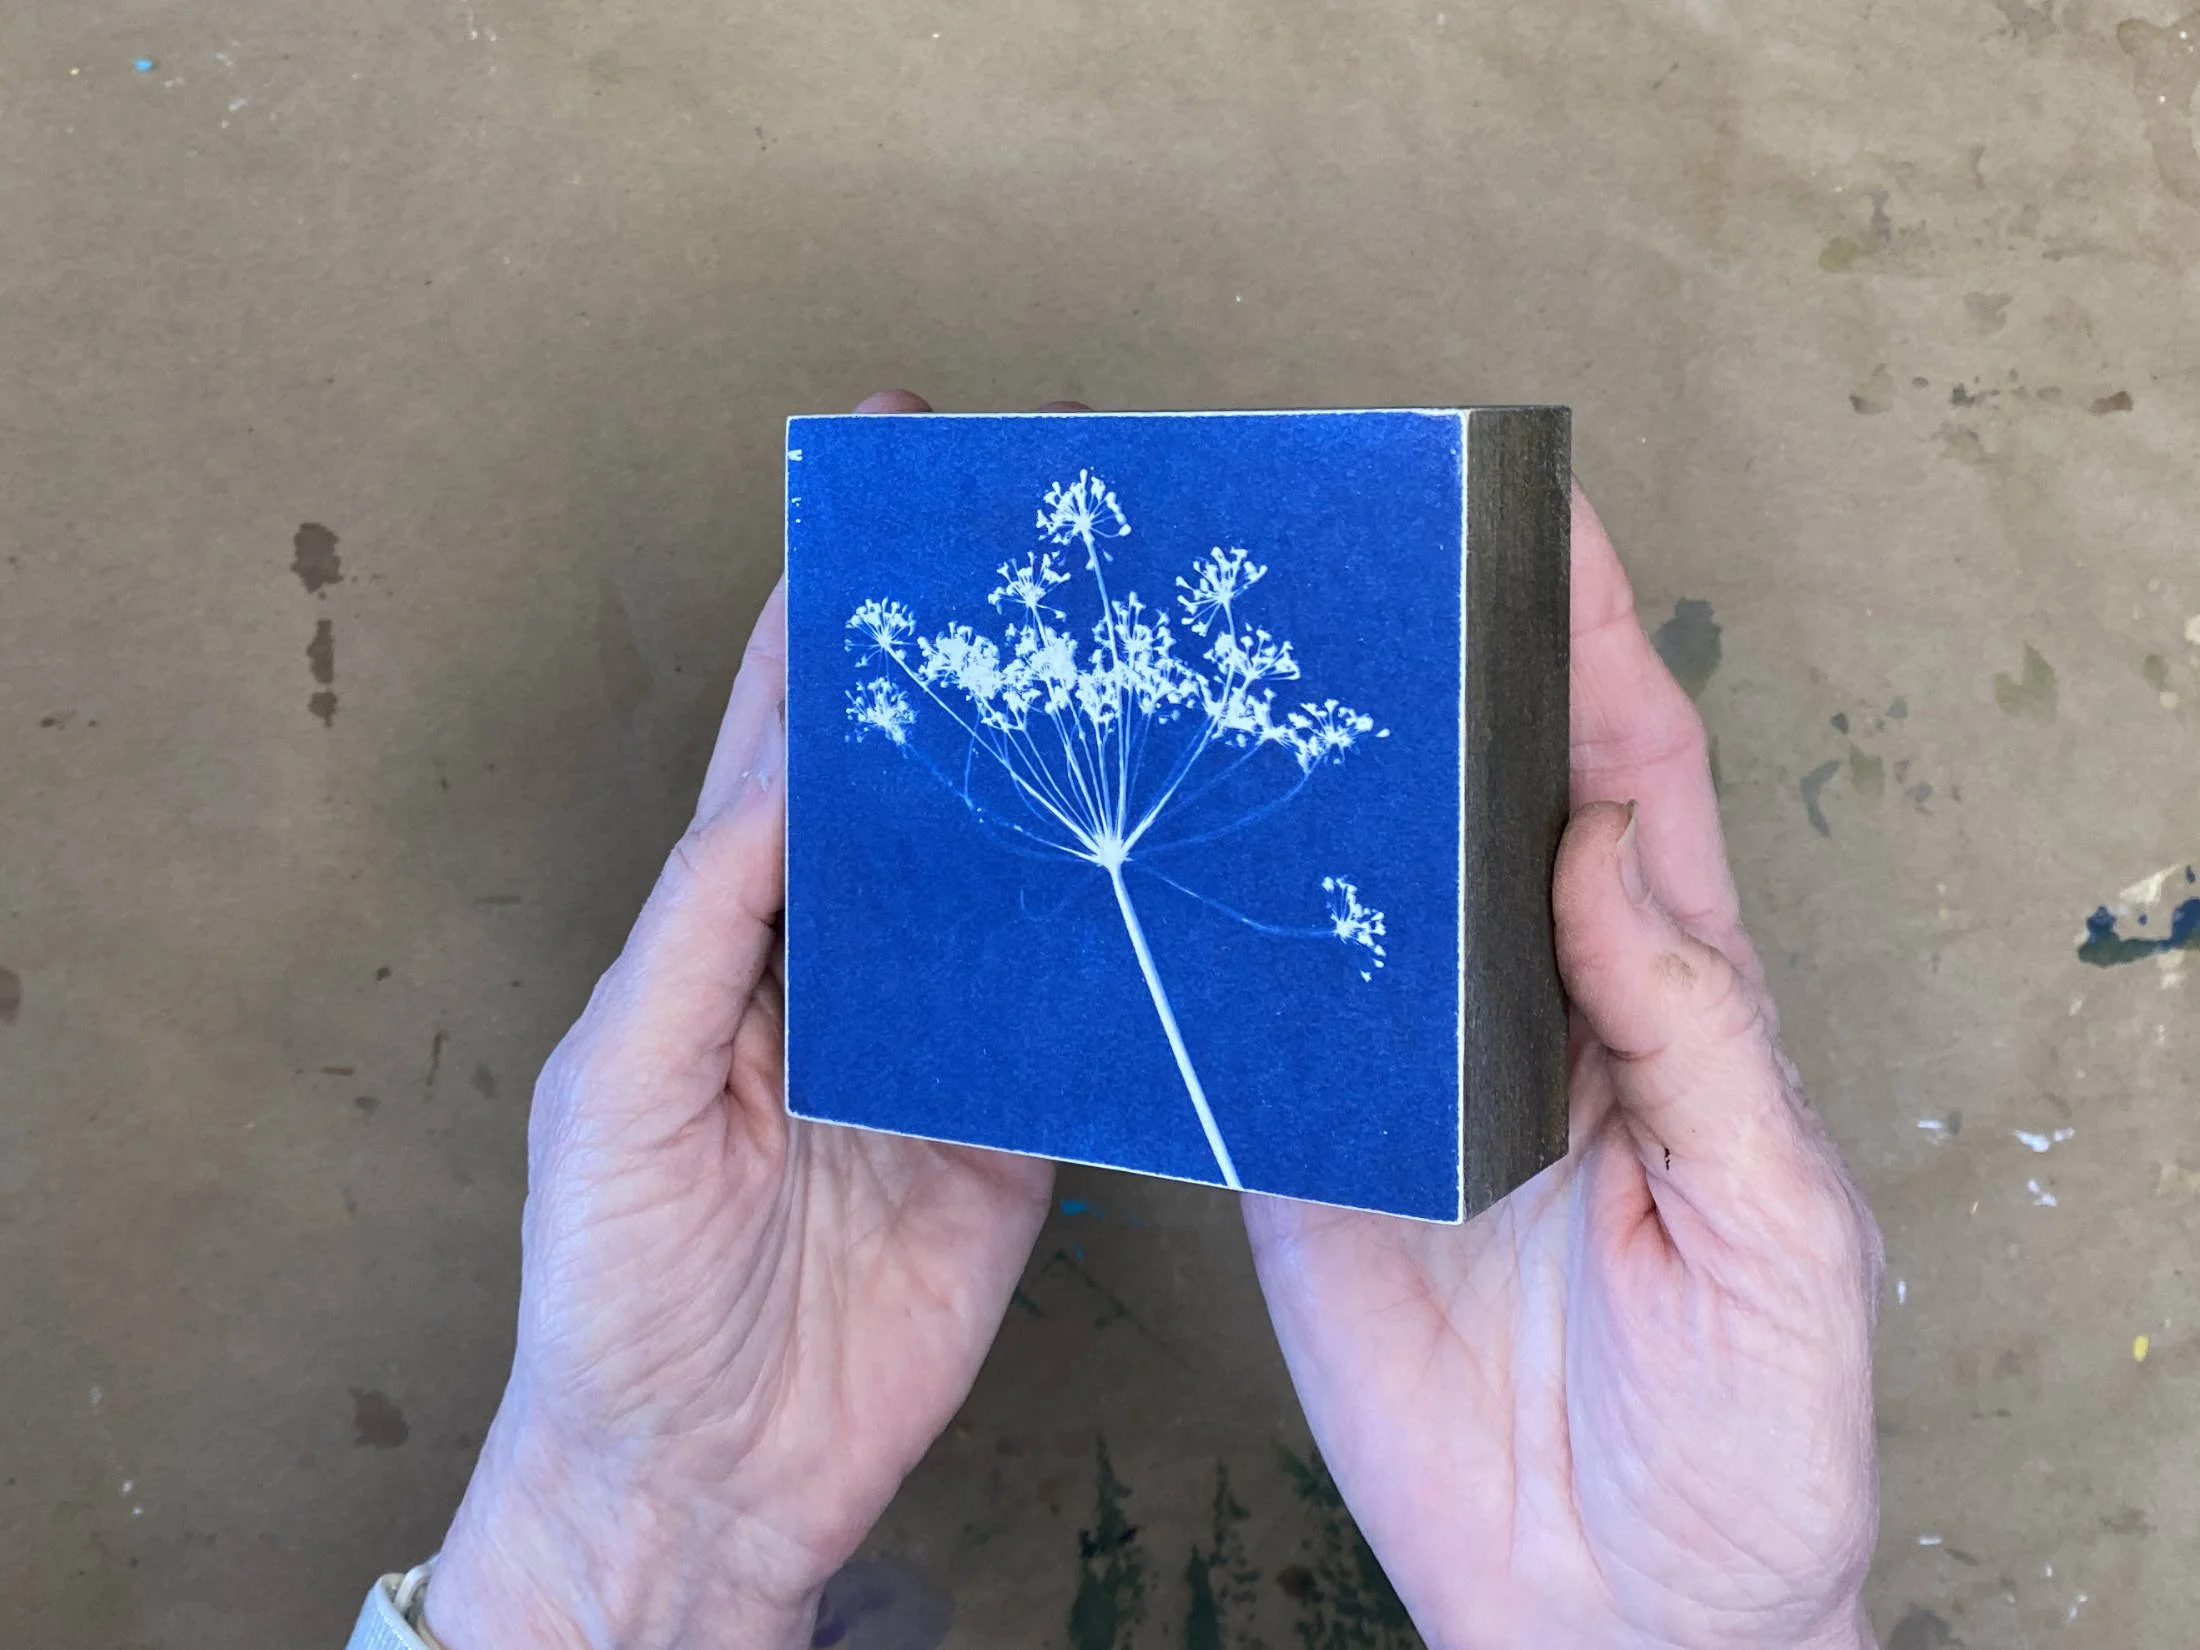
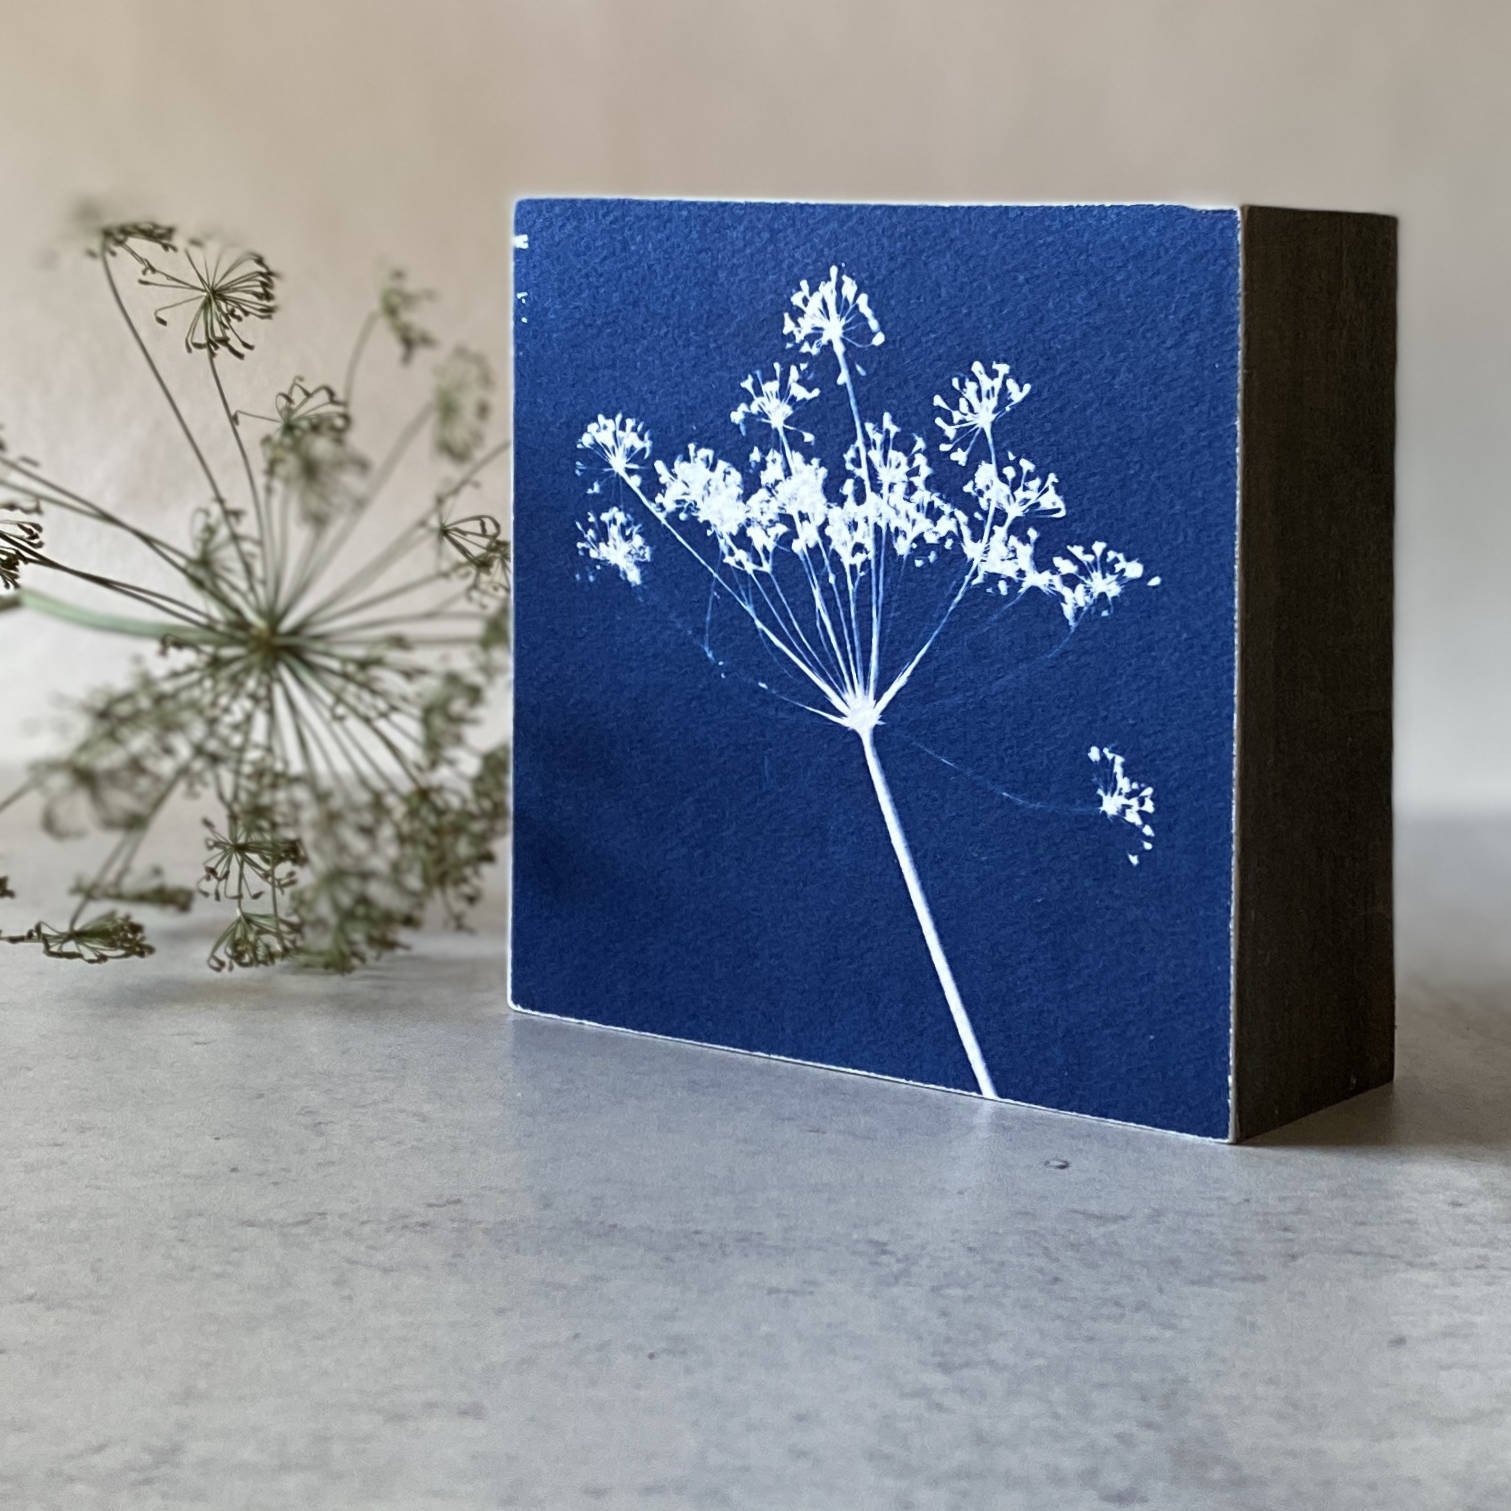
Cyanotype print is mounted on the cradled panel and is ready to finish. Or just to enjoy as is.
I have examples of some art here that uses this process.
Do you have a preferred way to glue your prints to a panel? I would love to know more about your process. Please comment below.