
How to Add a Digital Image to a Tea Bag
This is a free tutorial.
It shows one way to use a technique.
If you want deeper guidance and finished projects, start here → Snippets Tea Bag Art Course

How to print a digital image on a tea bag
In my art journal work, I use tea bags as tiny canvases. I list reasons why I started using tea bags in my art here.
Plus, I like the idea of a tea bag being used in my artwork instead of ending up in the landfill. I feel like this art is part of my life by drinking the tea and using the tea bag after I clean and dry it.

Why a tea bag?
Tea bag paper is porous. Fluids flow through the paper easily. It’s easy to add rust and color that looks organic and accidental. And a tea bag is the perfect size for my art journal.
Sometimes, I want to add an image to the rusted or colored background that is more precise with a lot of detail or very strong color.
How do I get a digital image on a tea bag?
There are three methods I use to add digital images to my tea bag art.
Method Number One: Using a desktop printer (laser or inkjet) and computer, I print directly on a tea bag.
Method Number Two: I screen print and stencil paint onto the tea bag.
Method Number Three: I use an alcohol-based image transfer process.
Tea Bag Printing - Method Number One
In this tutorial, I’m showing how I use Method Number One to add a prepared image* to a tea bag using a desktop printer and computer.
I’m using my laser printer to print my image (flowers) directly on the tea bag right where I want it. Inkjet printers work great, too.
Here’s the list of supplies and tools that I use for Method Number One:
A .pdf or .jpg image sized to fit the tea bag - I’m including a sized digital image (flowers) for you to download and use.*
Several sheets of plain white copy paper or cardstock (8-1/2 x 11 inch)
1/2 inch Scotch-brand tape or other clear tape
Clean tea bag (colored, rusted, or plain)
Computer and printer
Hair dryer or clothes iron

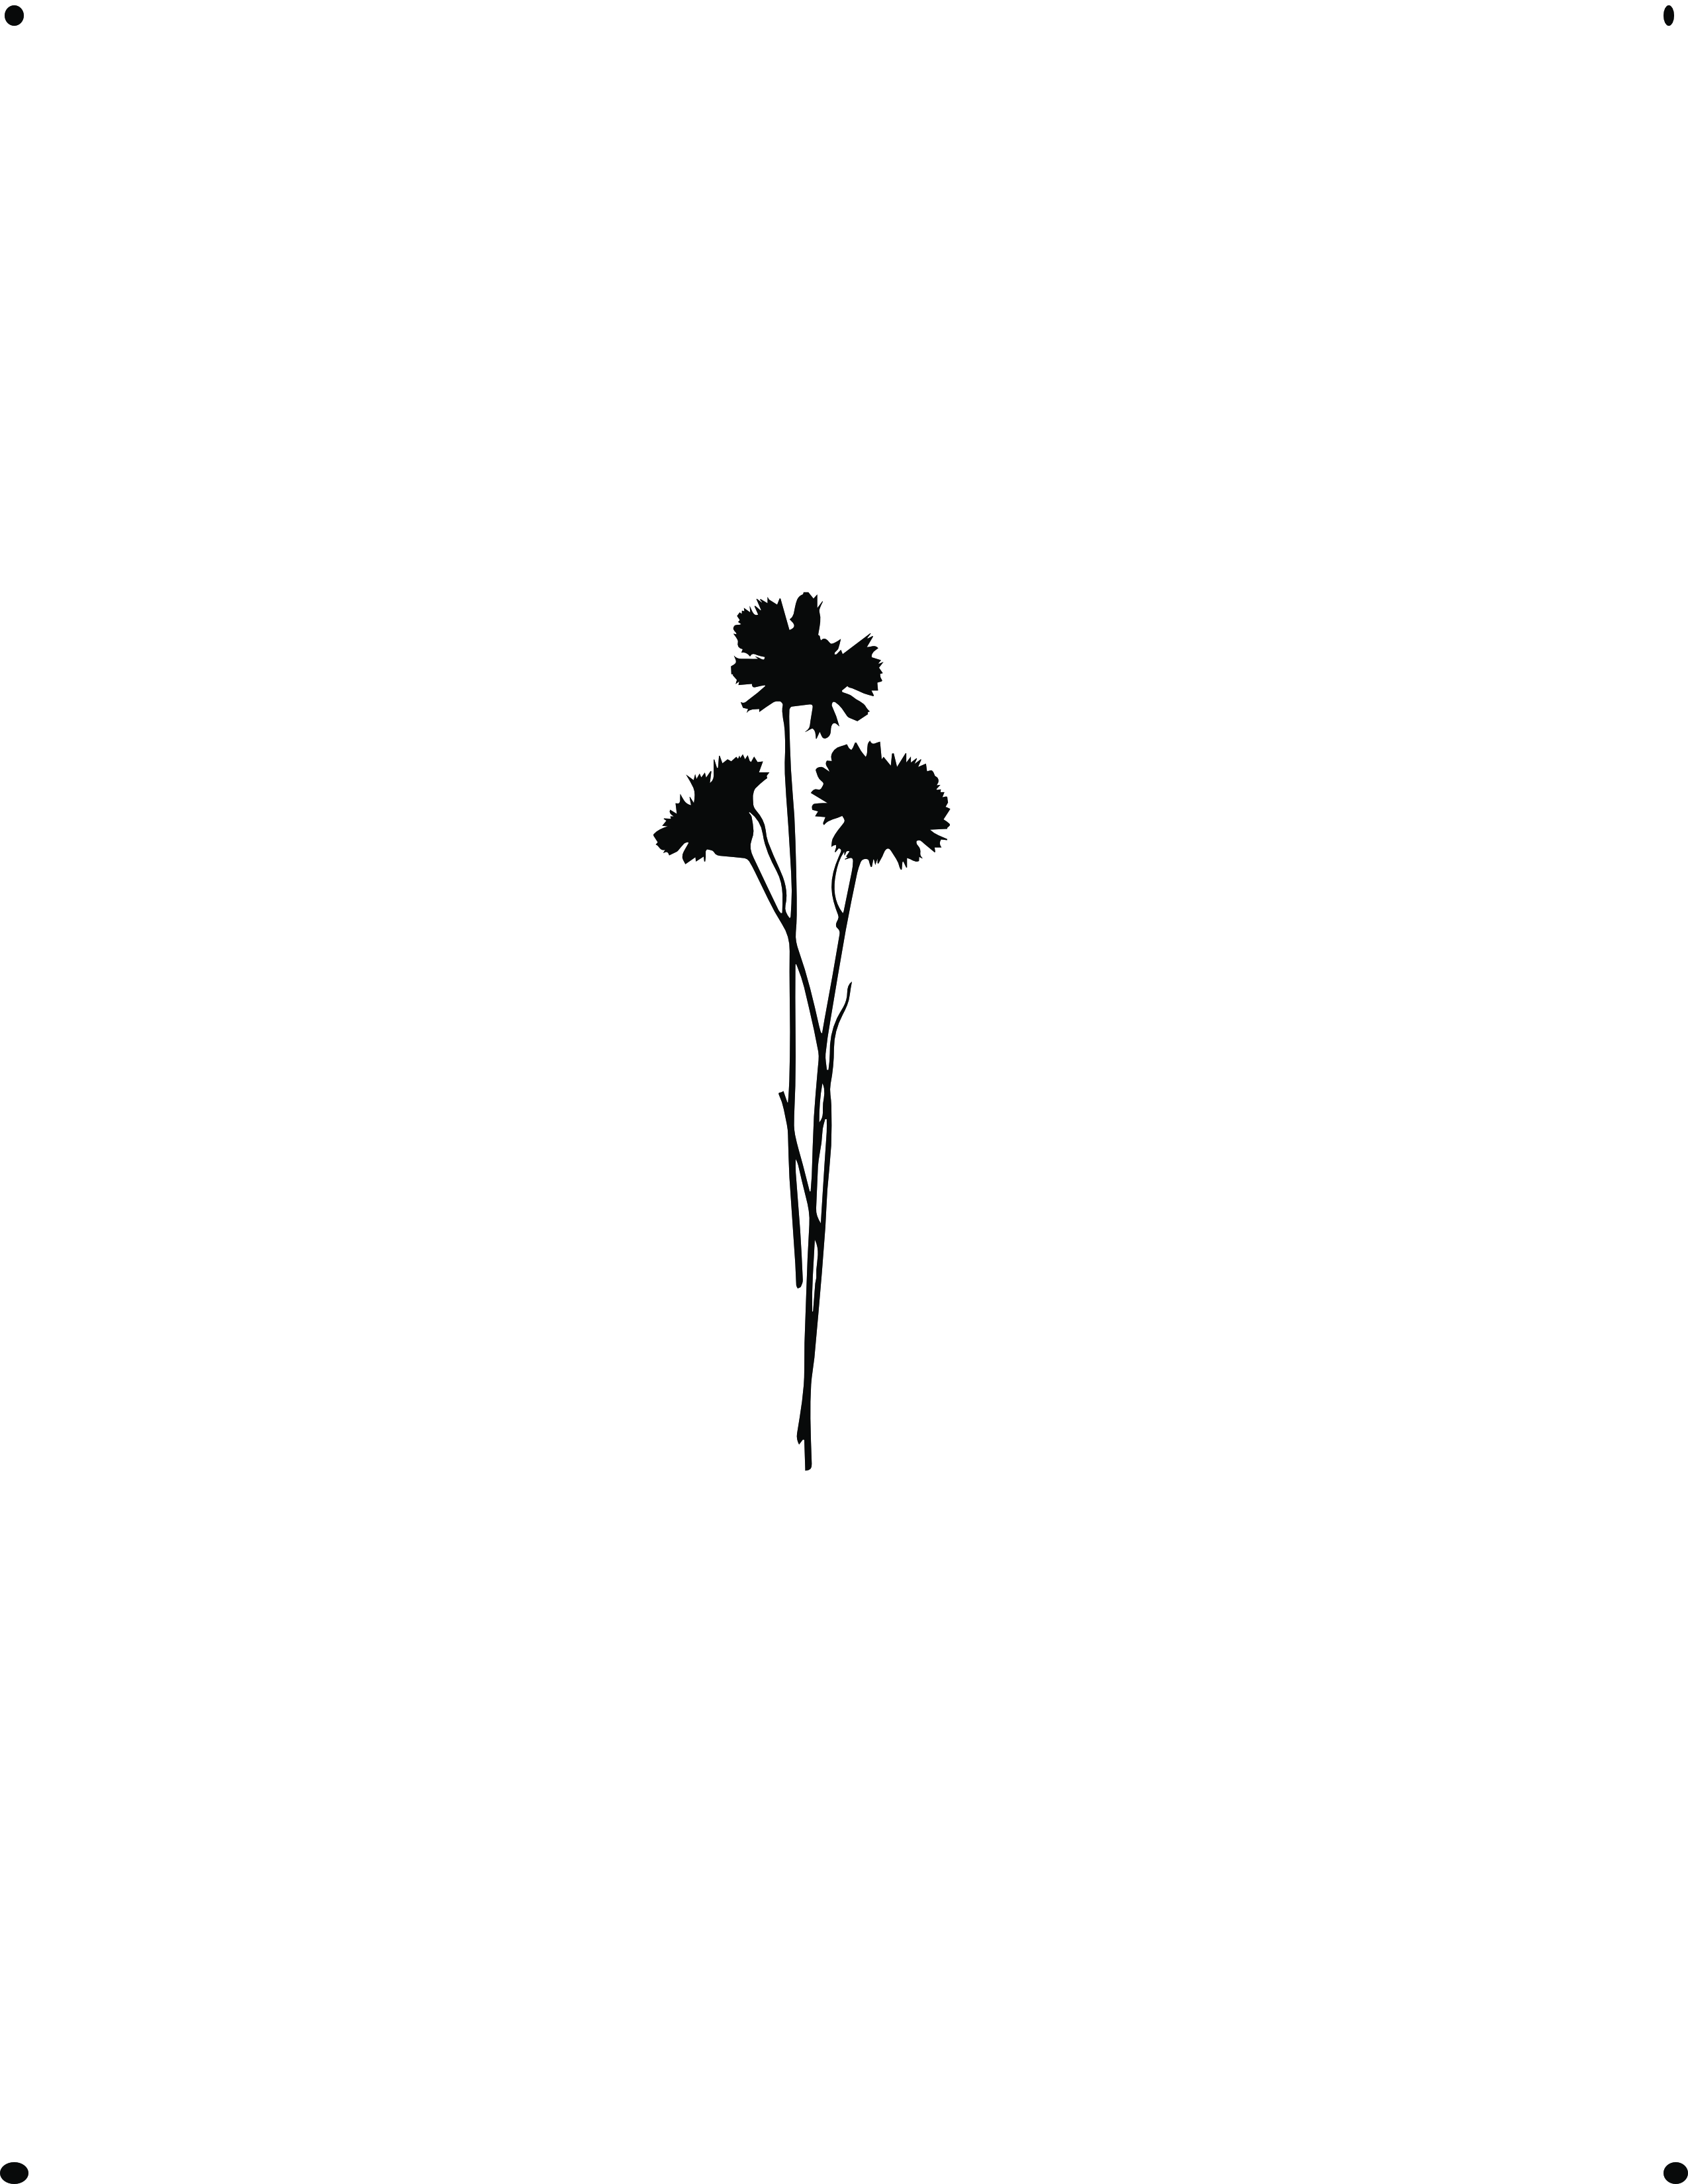
Here’s a graphic of the image (flowers) file that you’ll download and print:
STEPS
Step 1: Write the word “TOP” at the right-hand corner of a sheet of paper. It won’t show up in the final artwork.

Step 2: Put the paper in the printer tray. Turn the paper over (Top is facing down) and put the “TOP” edge in first.
Step 3: Open the image (flowers) .pdf file on your computer in a program that has a “Print” option.
The image (flowers) file will fit a tea bag if you use the “Print the entire image” option on your printer. I’ve designed the image file with 4 dots at the corners. They won’t interfere with the image for the tea bag but they let the printer know that the entire page needs to print on a 8-1/2 x 11 inch paper.
Step 4: Print the image (flowers) on the copy paper or cardstock that you put in the printer tray.
Step 5: Pay attention to the way the paper comes out of the printer. On my printer, the image (flowers) will be on the same side as the word “TOP,” but the bottom of the paper comes out first. The flowers will be printed stems first. Your printer may print differently.
Be sure to test until you feel comfortable with the result.

This matters when you place the tea bag on the paper and run it back through the printer.
Step 6: Position your tea bag over the printed image (flowers). You can see the flowers through the tea bag. The printer will print the image on the tea bag right where it printed it on the paper.
Step 7: Tape down all four edges with Scotch tape. Put the tape as close as possible to the edge of the tea bag, just enough to hold it down so the printer head won’t catch it.

Step 8: This is the most critical step! Based on your test print(s), put the paper back in the printer tray so that the image will print on the tea bag.
For my printer, the paper goes in image (flowers) side down with the edge with the letters “TOP” going in last.
Step 9: Click print.
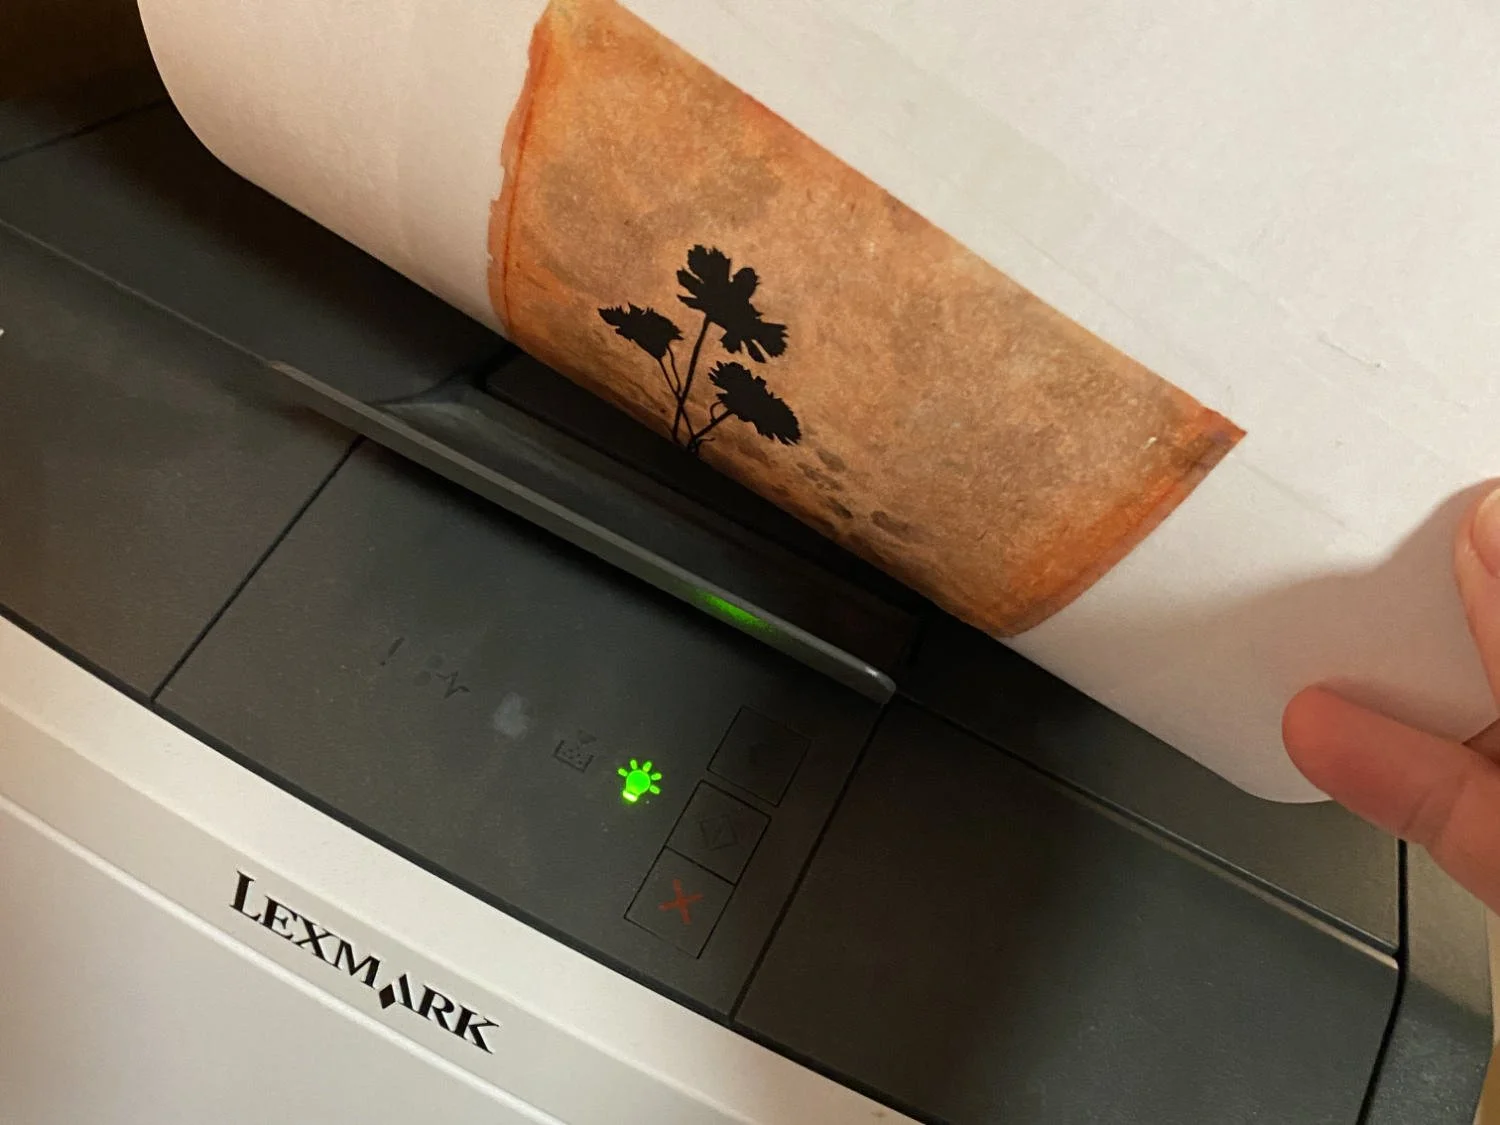
Success! The digital image (flowers) has been printed on the tea bag in the same spot as the first printed image.
Step 10: Time to remove the tea bag from the paper and tape.
Warm the tape slightly. Use a hair dryer to warm it. Or turn the paper over and iron over the back with a warm (not hot) iron. Either way, the adhesive will soften, allowing you to pull the tape away from the tea bag.

Step 10: Pull the tape away from the tea bag at an angle away from the edge.
Complete printed tea bag!

Your gorgeous printed tea bag is ready to include in your art journal or any other technique where you’re using tea bags.
Next time, I’ll show you how to screen print and stencil on your tea bags.
If you have questions, please email me. I’m excited to help you with printing on tea bags.
*I designed the image (flowers) (link to the file) from my pressed flowers. I sized it to fit a tea bag using photo-editing software. I’m including the sized digital image file for you so you don’t have to size it to fit. If you would like to know more about my process, just let me know.
Please pin for a future project!
I would love to see your project when you’re done. You can email an image to me.
